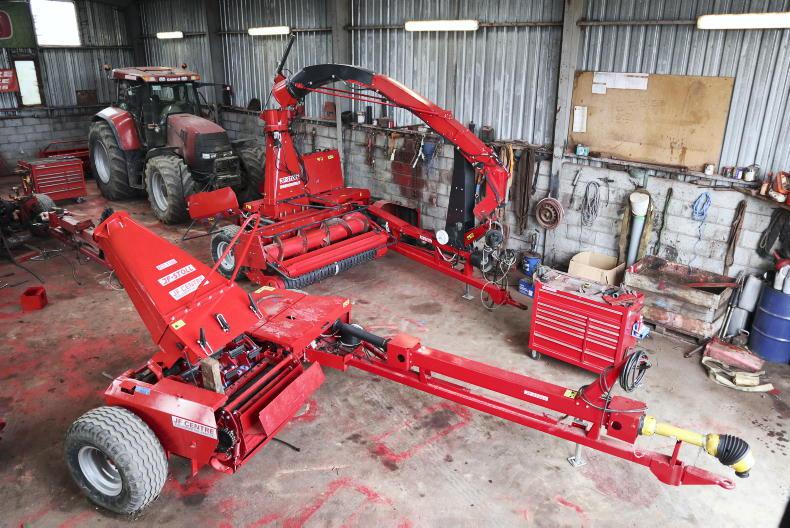
Although the widespread popularity of trailed harvesters has dwindled over the years, there is surprisingly still a sizeable number of units working in pockets throughout the country.
Over the past two to three decades, most contractors have made the move to self-propelled machines, with this decision having been largely based on output capacity.
Some smaller contractors still run such machines, but it tends to be farmers who cut their own silage that are now in possession of these units.
Depending on variables such as the crop and the length of draw, the humble trailed harvester is typically capable of picking around 35 to 50 acres each day.
Although it will never rival the output of a self-propelled machine, the big attraction is the much reduced initial purchase cost, its operational costs and the simplicity of build.
We spoke to Alan Gethings from the JF Centre in Tullamore who outlines some key pre-season maintenance tips for getting a typical JF trailed harvester ready for the fast-approaching silage season.
1 Initial inspection
First off, Alan would advise that the forager is run for approximately 30 minutes to warm it up.
While running, a walk around and careful listen will help to flag and pinpoint any initial issues.
Once the PTO has been disengaged and the tractor turned off, walk around and feel all bearings for heat. Start at the front of the machine and work right around.
The PTO should always be checked over. Check to ensure the crosses remain tight. It is important from a safety perspective that the drive shaft has a good functional cover.
Check over the slip clutch. To make sure it hasn’t seized over winter, it can be slackened off a little, run for a short time (a minute), stopped and tightened again.
It is advised to change slip clutch discs which have gone black, oily or those that you know have previously slipped.
2 Change oil
Alan noted that he likes to let the oil out of the gearbox after running it when it is hot. He then advises on putting a magnet into the waste oil.
Check the magnet after a period to see if it has attracted any iron filings. If so, this will be an early indication of gearbox trouble. He would advise a change of gearbox oil every season.

The oil in the gearbox should be changed every season.
3 Pickup
The pickup reel is the first point of contact between the grass and the machine, so it should be maintained to a high standard.
The JF pickup head has four rows of tine bars. The cam bearings, which are located on the tine bar end, should be inspected and replaced if necessary. They are priced at €15 plus VAT each.
It is important to check the cam track for wear. A new cam track will set you back €700 plus VAT.
The scroll pins on the tine bar ends should be checked and replaced if required. This is important to keep the pickup nice and tight.

Broken, damaged or brittle tines should be replaced as missing tines puts more of a strain on the existing tines.
Any broken, damaged or brittle pick-up tines and bands need to be replaced. Missing tines will put more of a strain on the existing tines. The tines will cost €4.50 plus VAT each, while the bands are priced at €25 plus VAT each.
The sealed bearings on the support wheels which run underneath the pick-up should be checked over. These need to be replaced each year. Otherwise, if these go, you will go through a set of tines very quick. They cost €5 plus VAT each.
Just before the grass is fed into the feed rollers, there is a wear plate/deflector plate. These often need to be replaced. They cost €18 each plus VAT.
The pressure the pickup runs at on the ground is governed by two springs. Alan advises that the tensioner should be tightened until the head is applying approximately 50kg of downward force on to the ground.

The pickup tensioner should be tightened until the head is applying approximately 50kg of downward force onto the ground.
Any lighter, it may run over the grass, while if it’s too heavy, it will lose the flotation effect and can dig into the ground, breaking tines.
4 Feed rollers
All JF foragers have four feed rollers. The two front rollers are the same, while the rear upper is a smooth roller and the rear lower is a serrated roller.
All should last a long time. However, due to the positioning of the lower serrated roller in a build-up of acidic material, this may have to be replaced every 10 to 12 years. It’s priced at €650 plus VAT.
The bearings, sprockets and chain should be checked at the feed rollers. It’s also important to ensure there is still tension in the spring here. This spring is priced at €17 plus VAT, while the bearings are priced at €40 plus VAT.

The bearings, sprockets and chain should be checked at the feed rollers.
5 Drum
The drum probably contains the hardest-working parts of a trailed harvester – the knives and the shear bar.
To access it, safely fold and lock the chute back. Alan advises that all blades should be removed. The knives, support plates and bolts should be checked over, oiled and cleaned.
This means if you break a blade during the summer and need to replace it, the bolts will be easily opened. Damaged blades should be replaced. They cost €12 plus VAT each.
When the knives are removed, get a bar and check the two drum bearings either side for movement. These are normally trouble-free.
A replacement sharpening stone, if required, will set you back €145 plus VAT.
When all the blades are put back into the drum, each one should be tightened using a torque bar. They should be sprayed once tightened to ensure none are missed.
Once all blades are back in and set, run the drum backways to sharpen. A few pulls of the sharpening stone should suffice, but this will vary depending on the condition.
A replacement sharpening stone, if required, will set you back €145 plus VAT. It’s advised to sharpen the blades once per day. Remember, sharp knives make the harvester easier to drive, which in turn results in better fuel economy.
The shearbar also needs to be checked over to ensure it still has a sharp edge. Ideally, there should never be more than 0.5mm spacing between the knives and the shear bar, but a lot of machines are out of adjustment.
Alan recommends that the shearbar is turned after approximately 350 acres, and more frequently if it has seen its fair share of stones. A replacement shearbar on a 900/1050 model will set you back €170 plus VAT, while a shearbar for an 1100 model is priced at €380 plus VAT.
He added that the knives can typically be sharpened 10 to 14 times before the drum is adjusted closer to the shear bar for a more even chop length.
6 Chute
The chute is fairly straightforward. It’s just a matter of keeping an eye on the liners and replacing them when worn. Alan fabricates the main 10ft liner himself and charges €50 plus VAT.
The top part of the chute tends to be the hardest-wearing, as it receives the full force of the upward momentum of the grass as it directs flow into the trailer.
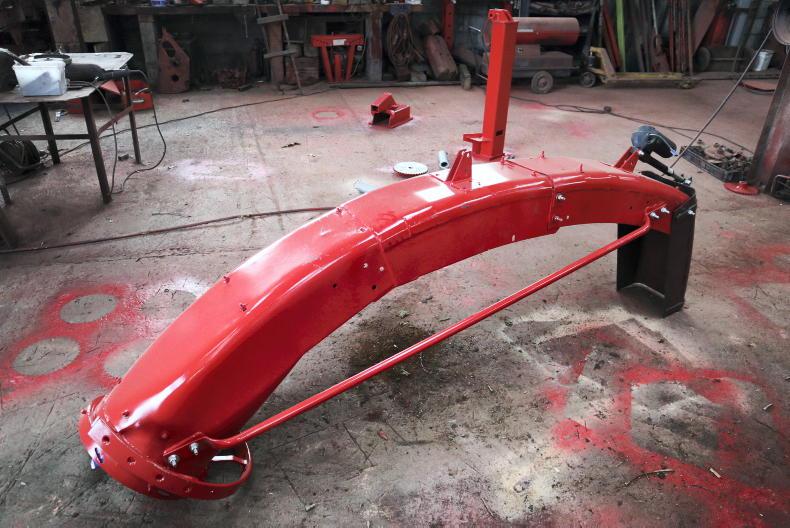
Operators need to keep an eye on the liners in the chute and replace them when worn.
All functions on the control box should be checked over. Contact spray should be applied to all elements on the solenoids.
The control box should be mounted on a safe bracket in the cab. If this isn’t the case, now is a great opportunity to get this correctly set up.
7 General
Alan advises to remove all chains and check for play and wear. When the chains are removed, check the sprockets for wear. This will be evident from a rounding of the teeth. Worn sprockets should be replaced, otherwise the chain will slip.
The chains are easily adjusted using the tensioners, if needs be. It will be evident when chains are coming to the end of their life span, as the tensioners will be at the maximum and the chains will start to slacken more and more before they eventually break.
Broken chains will lead to unwanted downtime during busy periods. Two of the chains on the JF foragers aren’t fitted with tensioners (one in pickup and drive on front feed roller).
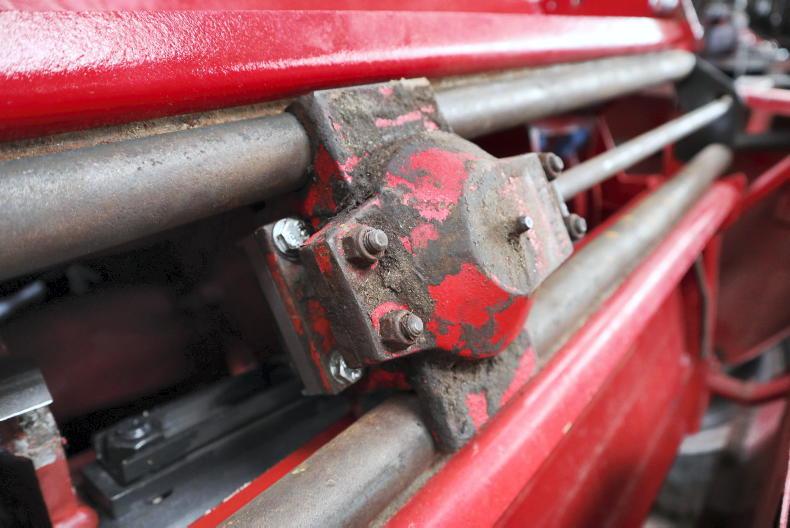
The springs on the pickup hitch (if being used) should be checked over to ensure they are not stretched. Also, check for any cracks or bends.
All hydraulic hoses and fittings should be checked over for leaks, cracks or damage. Lights should be checked. Wheel studs should be tightened if required.
Although the widespread popularity of trailed harvesters has dwindled over the years, there is surprisingly still a sizeable number of units working in pockets throughout the country.
Over the past two to three decades, most contractors have made the move to self-propelled machines, with this decision having been largely based on output capacity.
Some smaller contractors still run such machines, but it tends to be farmers who cut their own silage that are now in possession of these units.
Depending on variables such as the crop and the length of draw, the humble trailed harvester is typically capable of picking around 35 to 50 acres each day.
Although it will never rival the output of a self-propelled machine, the big attraction is the much reduced initial purchase cost, its operational costs and the simplicity of build.
We spoke to Alan Gethings from the JF Centre in Tullamore who outlines some key pre-season maintenance tips for getting a typical JF trailed harvester ready for the fast-approaching silage season.
1 Initial inspection
First off, Alan would advise that the forager is run for approximately 30 minutes to warm it up.
While running, a walk around and careful listen will help to flag and pinpoint any initial issues.
Once the PTO has been disengaged and the tractor turned off, walk around and feel all bearings for heat. Start at the front of the machine and work right around.
The PTO should always be checked over. Check to ensure the crosses remain tight. It is important from a safety perspective that the drive shaft has a good functional cover.
Check over the slip clutch. To make sure it hasn’t seized over winter, it can be slackened off a little, run for a short time (a minute), stopped and tightened again.
It is advised to change slip clutch discs which have gone black, oily or those that you know have previously slipped.
2 Change oil
Alan noted that he likes to let the oil out of the gearbox after running it when it is hot. He then advises on putting a magnet into the waste oil.
Check the magnet after a period to see if it has attracted any iron filings. If so, this will be an early indication of gearbox trouble. He would advise a change of gearbox oil every season.
The oil in the gearbox should be changed every season.
3 Pickup
The pickup reel is the first point of contact between the grass and the machine, so it should be maintained to a high standard.
The JF pickup head has four rows of tine bars. The cam bearings, which are located on the tine bar end, should be inspected and replaced if necessary. They are priced at €15 plus VAT each.
It is important to check the cam track for wear. A new cam track will set you back €700 plus VAT.
The scroll pins on the tine bar ends should be checked and replaced if required. This is important to keep the pickup nice and tight.
Broken, damaged or brittle tines should be replaced as missing tines puts more of a strain on the existing tines.
Any broken, damaged or brittle pick-up tines and bands need to be replaced. Missing tines will put more of a strain on the existing tines. The tines will cost €4.50 plus VAT each, while the bands are priced at €25 plus VAT each.
The sealed bearings on the support wheels which run underneath the pick-up should be checked over. These need to be replaced each year. Otherwise, if these go, you will go through a set of tines very quick. They cost €5 plus VAT each.
Just before the grass is fed into the feed rollers, there is a wear plate/deflector plate. These often need to be replaced. They cost €18 each plus VAT.
The pressure the pickup runs at on the ground is governed by two springs. Alan advises that the tensioner should be tightened until the head is applying approximately 50kg of downward force on to the ground.
The pickup tensioner should be tightened until the head is applying approximately 50kg of downward force onto the ground.
Any lighter, it may run over the grass, while if it’s too heavy, it will lose the flotation effect and can dig into the ground, breaking tines.
4 Feed rollers
All JF foragers have four feed rollers. The two front rollers are the same, while the rear upper is a smooth roller and the rear lower is a serrated roller.
All should last a long time. However, due to the positioning of the lower serrated roller in a build-up of acidic material, this may have to be replaced every 10 to 12 years. It’s priced at €650 plus VAT.
The bearings, sprockets and chain should be checked at the feed rollers. It’s also important to ensure there is still tension in the spring here. This spring is priced at €17 plus VAT, while the bearings are priced at €40 plus VAT.
The bearings, sprockets and chain should be checked at the feed rollers.
5 Drum
The drum probably contains the hardest-working parts of a trailed harvester – the knives and the shear bar.
To access it, safely fold and lock the chute back. Alan advises that all blades should be removed. The knives, support plates and bolts should be checked over, oiled and cleaned.
This means if you break a blade during the summer and need to replace it, the bolts will be easily opened. Damaged blades should be replaced. They cost €12 plus VAT each.
When the knives are removed, get a bar and check the two drum bearings either side for movement. These are normally trouble-free.
A replacement sharpening stone, if required, will set you back €145 plus VAT.
When all the blades are put back into the drum, each one should be tightened using a torque bar. They should be sprayed once tightened to ensure none are missed.
Once all blades are back in and set, run the drum backways to sharpen. A few pulls of the sharpening stone should suffice, but this will vary depending on the condition.
A replacement sharpening stone, if required, will set you back €145 plus VAT. It’s advised to sharpen the blades once per day. Remember, sharp knives make the harvester easier to drive, which in turn results in better fuel economy.
The shearbar also needs to be checked over to ensure it still has a sharp edge. Ideally, there should never be more than 0.5mm spacing between the knives and the shear bar, but a lot of machines are out of adjustment.
Alan recommends that the shearbar is turned after approximately 350 acres, and more frequently if it has seen its fair share of stones. A replacement shearbar on a 900/1050 model will set you back €170 plus VAT, while a shearbar for an 1100 model is priced at €380 plus VAT.
He added that the knives can typically be sharpened 10 to 14 times before the drum is adjusted closer to the shear bar for a more even chop length.
6 Chute
The chute is fairly straightforward. It’s just a matter of keeping an eye on the liners and replacing them when worn. Alan fabricates the main 10ft liner himself and charges €50 plus VAT.
The top part of the chute tends to be the hardest-wearing, as it receives the full force of the upward momentum of the grass as it directs flow into the trailer.
Operators need to keep an eye on the liners in the chute and replace them when worn.
All functions on the control box should be checked over. Contact spray should be applied to all elements on the solenoids.
The control box should be mounted on a safe bracket in the cab. If this isn’t the case, now is a great opportunity to get this correctly set up.
7 General
Alan advises to remove all chains and check for play and wear. When the chains are removed, check the sprockets for wear. This will be evident from a rounding of the teeth. Worn sprockets should be replaced, otherwise the chain will slip.
The chains are easily adjusted using the tensioners, if needs be. It will be evident when chains are coming to the end of their life span, as the tensioners will be at the maximum and the chains will start to slacken more and more before they eventually break.
Broken chains will lead to unwanted downtime during busy periods. Two of the chains on the JF foragers aren’t fitted with tensioners (one in pickup and drive on front feed roller).
The springs on the pickup hitch (if being used) should be checked over to ensure they are not stretched. Also, check for any cracks or bends.
All hydraulic hoses and fittings should be checked over for leaks, cracks or damage. Lights should be checked. Wheel studs should be tightened if required.


 This is a subscriber-only article


SHARING OPTIONS: