


Be it a car, tractor or fertiliser spreader, it’s always nice to buy something new. For some farmers or contractors, this may not always be financially justifiable when it comes to buying a fertiliser spreader. The other reason is there may be good value in the secondhand market.
General appearance
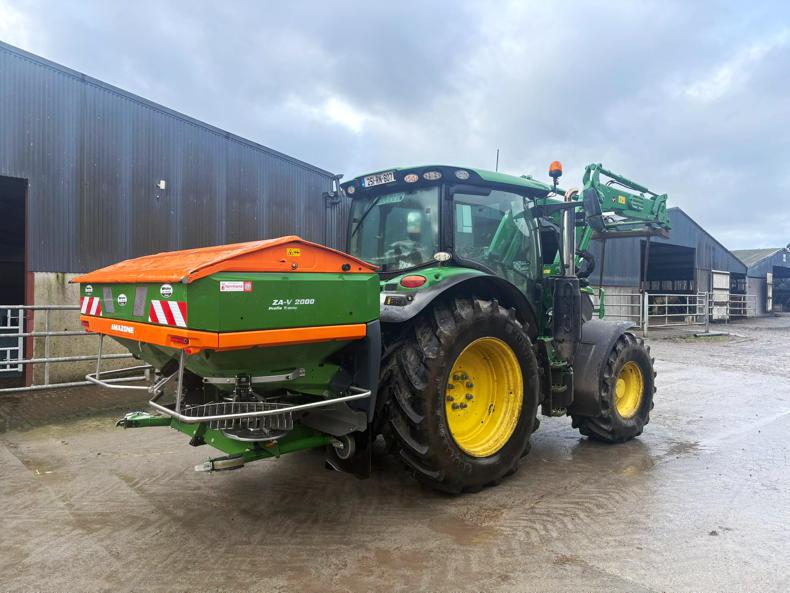
Like any secondhand machine, it has to appeal to you and catch your eye. A straight spreader without dents, scratches and rust will always command a higher price. Intact tail lights and proper sealing hopper-cover are some of the tell-tale signs that the machine came from a good home.
Rust
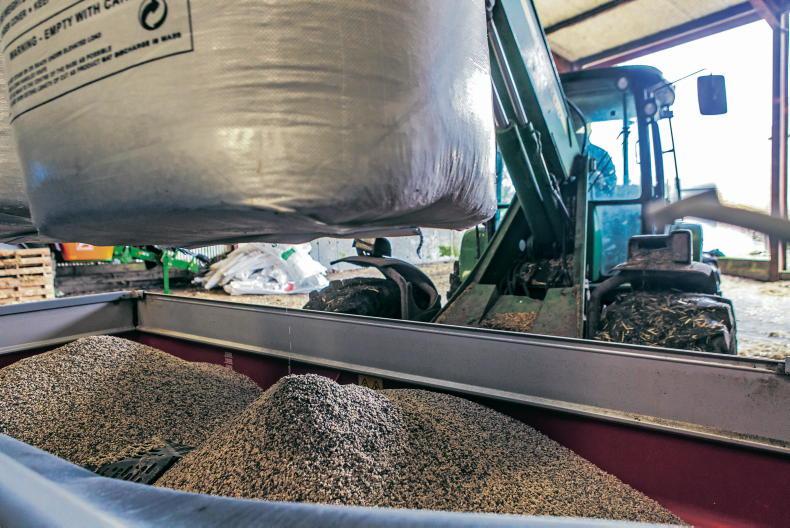
The nature of the material fertiliser spreaders are handling means rust is always going to be a challenge – it never sleeps, as someone once said to me. Some manufacturers use stainless steel but this can succumb to “tin-worm” also. If a spreader has been properly looked after, this can be reduced. Power-washing all remaining fertiliser dust from exposed metal surfaces after spreading reduces the rust risk and proper oiling before storage helps a lot. When looking at a used spreader, check for surface rust and dulling of paintwork. A few small spots or streaks on sharp edges is nothing to worry about but large areas missing paint or porous hoppers should have alarm bells ringing.
Bearings
All modern spreaders use twin discs to broadcast material. These travel at a high speed to get the desired spread width. Supporting these discs are bearings which can be maintenance-free or sealed. In either case, check for wear by catching the disc on the outer edge and lifting it up and down. Ensure that the retaining nut in the middle of the disc is tightened beforehand. If the disc flexes slightly, with a little movement, this is a good sign. If there is a distinctive amount of “play” or even a wobble then the bearings might need maintenance or replacement. Also, check that the disc turns freely when detached from the tractor.
Vanes and discs
These two work hand in hand and take the brunt of the wear in a fertiliser spreader. Check both for wear as rough surfaces can drastically affect the spread pattern accuracy of a fertiliser spreader. Vanes should be held tightly in place and their working face should be smooth to give unrestricted flow of material to full working width.
Hopper grilles
Where fitted, these serve a number of purposes. They prevent hardened lumps of fertiliser and foreign objects damaging the agitator, they avoid foreign objects getting caught in the agitator and, most importantly of all, they reduce injury to those filling the spreader. Sturdy hinges or bolts should hold these in place and they should be straight. A depressed grill suggests a large bag of fertiliser or other foreign object was dropped on it. This can easily happen and should be noted in the context of the general appearance of the machine.
PTO
Not all spreaders are fitted with a PTO as some are now hydraulically driven. For those that are PTO-driven, a full undamaged PTO cover complete with safety chains is a must. Check for wear on the universal joints by rotating both ends feeling for grinding or play. If adequately greased and maintained these can last a lifetime. If, however, a grease gun and it were not frequent bed-fellows, take note.
Hopper cover and lights
The fertiliser spreader cover serves two purposes; it keeps fertiliser dry and it keeps water and dirt out of the hopper. Covers should be undamaged and serve their purpose. Some use a side arm to swing them open and closed with some opened hydraulically. In any case, check for punctures and, if possible, run a water hose over the spreader with the cover closed to see how effective it is. Modern spreaders are designed for both grass and tillage spreading, meaning the tractor’s rear lights are often obscured. Check that these work and are not leaking. Again, if water or fertiliser dust gets in here rust will run riot.
Hopper shutters
Depending on the manufacturer, some use a single-shutter and some use a twin-shutter design. In either case, these should open and close to the same width on both sides of the hopper. This can be safely measured using a calipers– not your finger. Alternatively, use bolts or steel pipe of varying diameter to slot into the shutter opening. Both sides should measure the same width. If the shutters are hydraulically opened, check the springs for stretch that close them. If they are electrically opened and closed, check the electric actuators for wear and listen for grinding sounds from the motors. In all cases, shutters should move freely even if they are manually adjusted. Check the linkage-bars that close them as a bent bar means a stiff or almost seized shutter.
Hydraulic pipes and wiring
It may seem obvious but these should be in good working order without cuts or damage. Hydraulic hoses should be leak-free, clean and free from rust. Electrical cables including Isobus cables should be similar – no damage or cuts that may cause electrical shorts when attached to the tractor. If buying an Isobus-compatible spreader, check with the manufacturer that the spreader you are buying will “talk” to your tractor. Better again, if possible, bring your tractor along to make sure it works.
Calibration kit
There is no point buying a spreader if you can’t calibrate it accurately. Whatever system is used, make sure it is with the spreader. With more modern spreaders, an app can be used to determine the machine settings but the hardware is still required.


SHARING OPTIONS