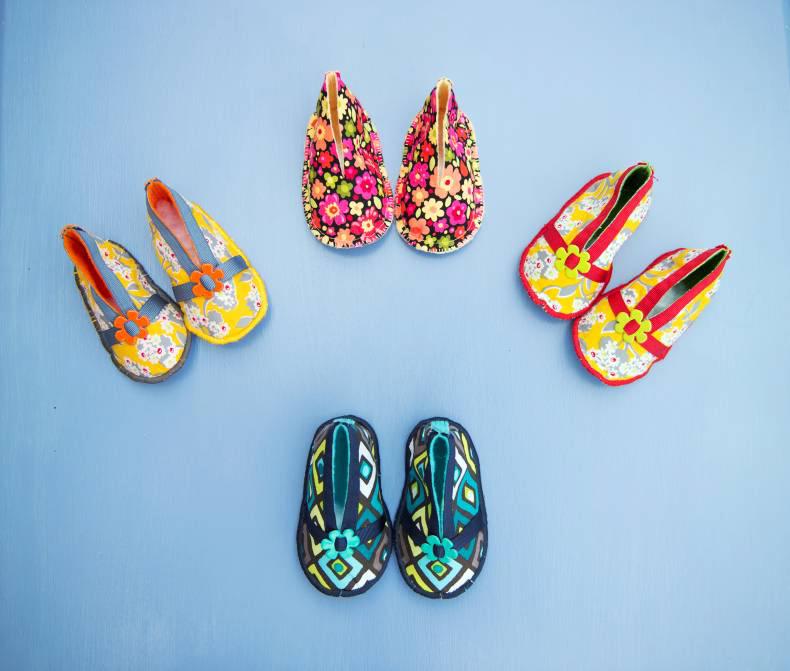
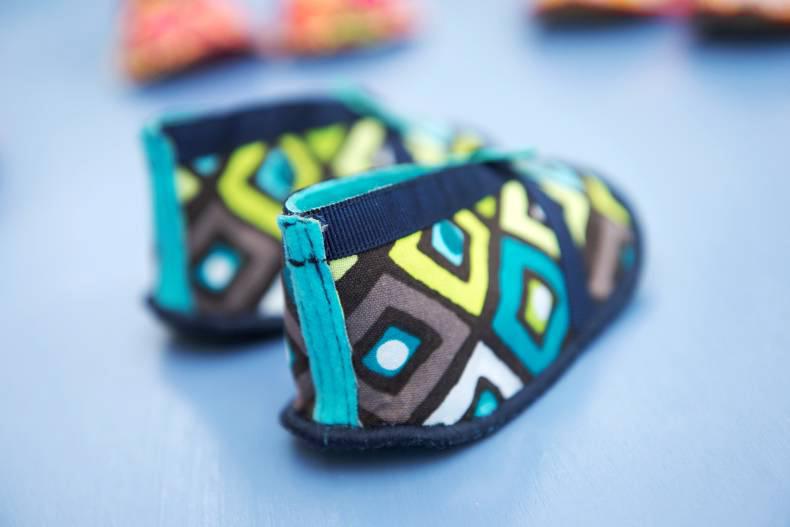
These double-layered booties are made with lovely soft felt on the inside and cotton on the outside, making them comfortable, warm and durable. They are not designed for walking, but are ideal for keeping baby’s feet protected and warm.
NB: Read pattern through from beginning to end before starting to sew. As the template/pattern for the booties is too large to print in the paper, you can download it at www.farmersjournal.ie/country-living. Alternatively, please send a stamped and addressed A4 envelope to Sewing Series booties pattern, Irish Country Living, Irish Farmers Journal, Irish Farm Centre, Bluebell, Dublin 12.
Materials
Patterned fabric 7” high by 17” wide
Plain matching felt 7” high by 17” wide
Double sided adhesive (for bonding fabrics) such as Heat n Bond or Bondaweb 7” high by 17” wide
½” wide gross grain ribbon 24” in length
2 buttons
Prepare fabric: Following manufacturer’s instructions, use the double sided adhesive to bond the felt to the wrong side of the fabric
Make paper pattern: After downloading the pattern at www.farmersjournal.ie/country-living, trace the pattern onto paper and cut out two uppers. Reverse the sole so that you have one right and one left shoe, then cut out two soles. Copy all markings onto paper pattern
Cutting out: Place pattern onto prepared fabric and cut out two uppers and two soles.
1 Cut 3 ½” of gross grain ribbon. Place on one side of the centre cut of the upper shoe and stitch in place. Repeat on the other side of the centre cut (see figure 1).
2 Cut 5” of gross grain ribbon. Fold in half to locate the centre, then place the centre of the ribbon onto the shoe upper at the large dot (located at the bottom of the centre cut). Stitch in place by taking a few small stitches, then attach button. Positioning the button here will stabilise this area. Baste ribbon to each side edge of shoe upper using markings as a guide (see figure 1).
3. Align two short (heel) edges of the upper together, right sides out, and stitch to form a centre back 1/4”seam (see figure 2). The seam will be exposed and showing on the outside of the shoe. Open and finger press seam, sew down each side of seam to keep flat.
4 Pin sole to upper, felted sides together, with seam allowance on the outside. Stitch sole to upper with 1/8” seam allowance (see figure 3). Use a decorative stitch like satin stitch all around perimeter of shoe to reinforce seam allowance and prevent fraying. Button hole stitch would also work well here.
5 Repeat for the second shoe.
NEXT WEEK
Make a toothfairy pillow
ONLINE
Diagrams can be
downloaded to scale from www.farmers
journal.ie/country-living.


 This is a subscriber-only article


SHARING OPTIONS: