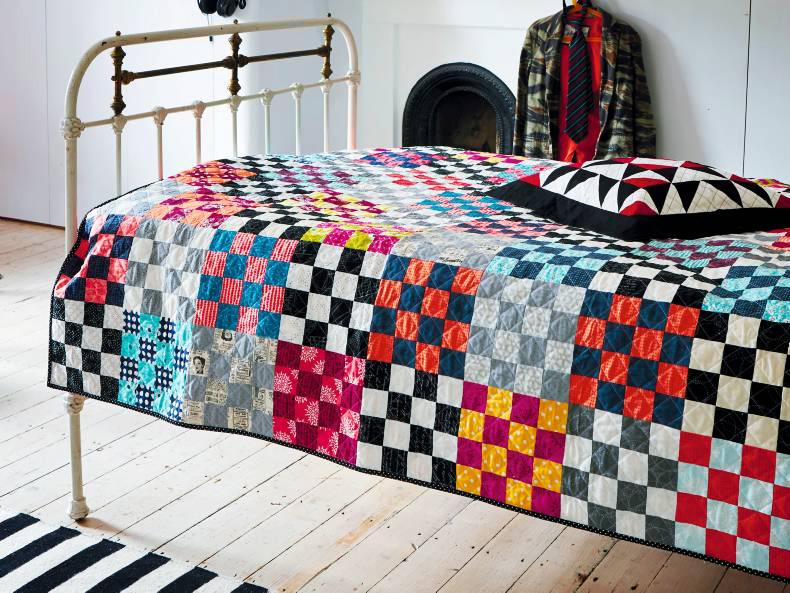
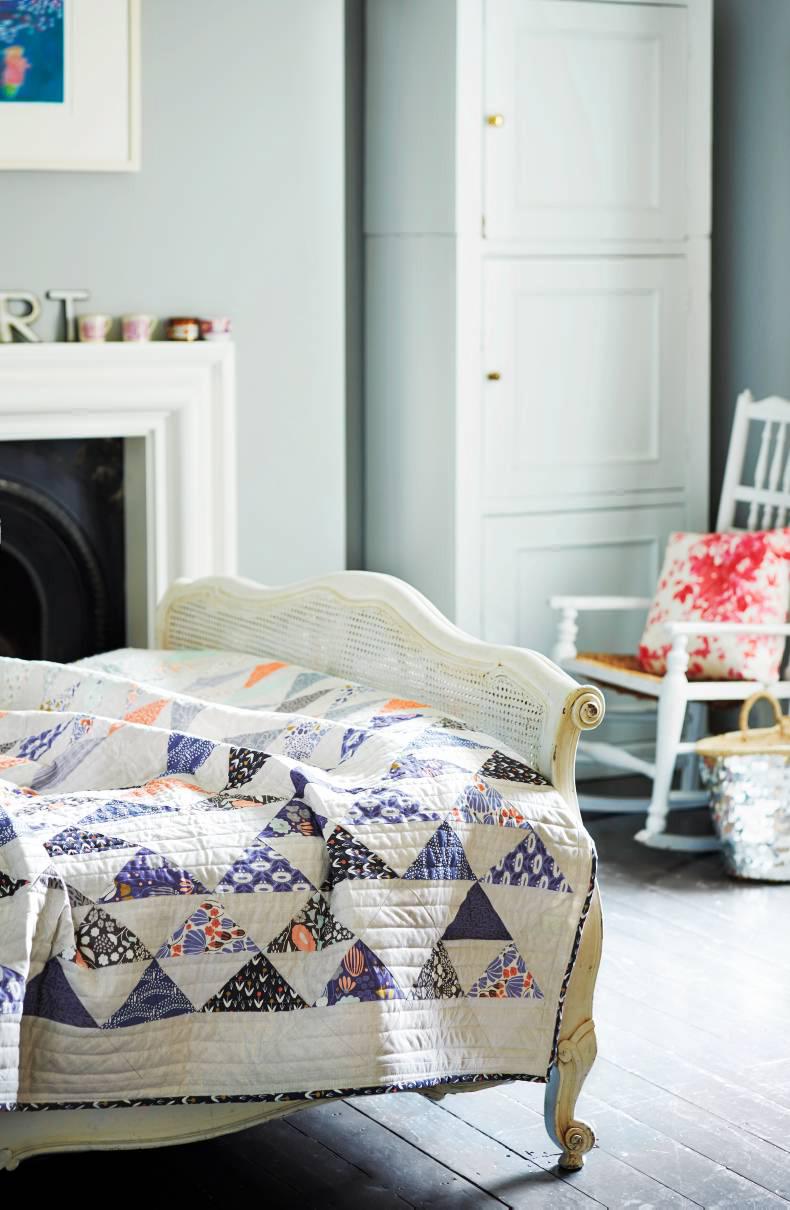
Ever fancied making a beautiful homemade quilt, full of your favourite patterns, colours and fabrics, but assumed it would take so long that there was no point starting? Well, in a brand new book, Quick & Easy Quilts, Lynne Goldsworthy shares a stunning collection of projects that you can run up on your sewing machine in record time: some can even be done in a weekend. This week it’s the Out on the Ocean Mini Quilt. To see all the previous tutorials from Quick & Easy Quilts that have been shown in Irish Country Living, visit www.farmersjournal.ie/country-living
Out on the Ocean Mini Quil
The blocks in this quilt are quick and fun to make as they need no careful measuring. I used blues and greys to suggest sea and sky, but you could use greens to suggest fields or even random colours for a more abstract effect. Since there is no careful measuring and each cut is made randomly, no two pieces made this way would ever be the same.
Notes
Finished size: 42 ½ in (108cm) square approximately.WOF = width of fabric.F16th = fat sixteenth (9in x 11in approx.)Use ¼ in seams, unless instructed otherwise.Irish Country Living notes: For less experienced quilters, full explanation of techniques mentioned here such as “making a quilt sandwich”, “squaring up” and “binding” can be found in Quick & Easy Quilts, or indeed online.Fabrics used
Quilt top and binding: Blueberry Park by Karen Lewis for Robert Kaufman, Robert Kaufman Kona white, solidsfrom Oakshott shot cottons and Robert Kaufman Kona solids.Quilt back: Oakshott Charcoal.You will need
Sea fabrics: eighteen F16ths (9in x 11in)
Sky fabrics: eighteen F16ths (9in x 11in)
White fabric: 2yds (1.75m)
Backing fabric: 2 ¾ yds (2.5m)
Wadding: 50in (127cm) square
Binding fabric: 3/8 yd (0.4m)
Suitable piecing and quilting threads
Cutting out
1 Cut the white fabric into six 1in, four 2in and six 9in x WOF strips. Sub-cut these strips as follows:
Cut the 1in x WOF strips into 12 10in lengths and three 40in lengths, for the sashing.Cut the 2in x WOF strips into two 40in lengths and two 43in lengths, for the border.Cut the 9in x WOF strips into 22 1in x 12in biascut strips (see Fig 1).2 Cut the backing fabric into two equal lengths.
3 Cut the binding fabric into five 2 ½ in x WOF strips.
Making the blocks
4 You will be making eight 10in square sea blocks and eight 10in square sky blocks. Each block will use nine different sea fabrics and eight 1in x 12in white bias strips. Each row of four blocks uses one set of nine fabrics pieced in the same order.
5 Take one sea F16th placed landscape style and make a wavy cut approximately a quarter of the way up (Fig 2).
6 Sew one 1in x 12in white bias strip to the wavy edge of this piece and press seams away from the sea fabric (Fig 3). Important note: each time you press seams in these blocks, give them a really good run over with the iron, using steam if necessary, to get the fabrics to lie flat. If they don’t lie perfectly flat, don’t worry as that can be resolved when you are quilting the mini quilt.
7 Lay the next sea F16th underneath this piece, with both pieces right side up and so that the bottom edge of the new F16th sits as close as possible to the top of the first piece to avoid wastage. Cut a line that follows the edge of the white bias strip, taking a small strip of fabric off the bottom of the new F16th (Fig 4).
8 Place the wavy edge of the new F16th right sides together with the white bias strip and sew together. You will constantly be adjusting both pieces of fabric so that their edges line up as you sew along. Press open, pressing seams away from the white bias strip (Fig 5).
9 Trim a wavy line along this new piece approximately 1in x2in wide, although it may be wider in places and narrower in others (Fig 6).
10 Sew a white bias 1in x 12in strip to this new wavy edge (Fig 7).
11 Continue adding white bias strips then new pieces of F16th sea fabric, until you have used nine sea F16ths and eight white bias strips between them. Sometimes when making the cut, your wavy cut may cross the white bias strip added just before (Fig 8). When I made the sea blocks, I made the cuts more wavy to suggest a turbulent sea. When I made the sky blocks, I made the cuts less wavy to suggest a calm sky. Repeat to make all 16 blocks.
12 Trim each block to 10in square. Spray starch may help to get the blocks to lie as flat as possible.
Assembling the quilt
13 Arrange the blocks into four rows of four, placing the 12 white 1in x 10in strips in between them. Sew each row together, pressing seams away from the blocks.
14 Now sew the four rows together using the three white 1in x 40in strips in between them. Press seams away from the blocks.
15 Sew the 2in x 40in border strips to the sides of the quilt. Press seams away from the blocks. Sew the 2in x 43in border strips to the top and bottom of the quilt. Press seams away from the blocks.
Quilting and finishing
16 Sew the two pieces of backing fabric together along the long sides using a ½ in seam and press the seam open. Make a quilt sandwich of the quilt back (right side down), the wadding and the quilt (right side up). (Technique: Making A Quilt Sandwich).
17 Quilt as desired. The quilt shown is quilted with lots of wavy horizontal lines vaguely following the wavy lines on the piecing.
18 When all quilting is finished, square up the quilt, removing excess wadding and backing as you do. (Technique: Squaring up).
19 Sew the binding strips together end to end using diagonal seams, or straight seams if preferred. Press wrong sides together all along the length to make a double-fold binding. Bind the quilt to finish, taking care to mitre the corners neatly (Technique: Binding).


SHARING OPTIONS