Hopefully you have had success with your seed sowing and you are now ready to move your much-loved seedlings on to their next stage. This might be an individual pot or module, or their final planting position.
Once germinated plants get their first leaves and then true leaves, it’s time for them to be transplanted. Depending on what the plant is, it may be planted directly into a raised bed in a polytunnel, or if its final planting position is to be in an outside bed, the plant has to go through the hardening-off stage (this is when the plant is brought outside either from a windowsill or polytunnel and left there for a few hours each day and brought back inside before night for a period of five to seven days to acclimatise to outdoor conditions.)
As soon as seedlings are large enough to handle, they can be transplanted into pots or modular trays.
1 Begin by watering the young seedlings that are to be potted and allow them to drain.
2 Next, half fill the new pot or tray with a potting compost. This mix will have a wetting agent and nutrients in it to help it grow into a healthy plant.
3 It is important to be careful handling young seedlings. Keep in mind that it is through the stem that the plant gets its water supply, so gently lift the seedlings by the leaves with one hand (to avoid any damage to the stem) and use your dominate hand to gently loosen the roots from the compost for transplanting. Some people just use a pencil to prise them out. I use an old knife from my children’s cutlery set: it’s round and chubby, so makes an ideal tool for the job.
4 Position the seedling in the centre of the pot or module and fill in around the seedling with compost and firm gently with your fingertips, making sure there are no air pockets. Water regularly until the plant is ready to be put in the ground.
Transplanting annuals
Annuals can be transplanted into trays or three-inch pots when seedlings are large enough to handle.
After the hardening-off stage, the plants should have acclimatised to the cooler conditions of outside. When you feel the risk of frost has passed in your particular area, you can transplant your young plants into their bed.
Here is a guide to spacing suggestions for the 10 varieties in this project.
Cosmos: 12-18in apart.Cornflower: 8-12in apart.Nigella: 6in apart.Ammi majus: 18-24in apart.Antirrhinum: 12-18in apart.Straw flower: 12in apart.Calendula: 12in apart.Poppies: 9-12in apart.Larkspur: 18-24in apart.Sweet pea: These flowers require a bit more time and effort but will repay you tenfold with their graceful form and intoxicating perfume. They do like a bit more nutrition than most annuals. Well-rotted farmyard manure is ideal, but there are eco-friendly products available in your local garden centre that will be more pleasant to use.The steps
1 Before planting sweat pea, it is a good idea to have your climbing frame in place. Try to locate your sweet peas as near as possible to your living space so that you get the most value from their scent. Also, keep in mind you will need to cut them often as they go to seed quickly if not harvested. I use a few rows of sheep wire secured to tall stakes and it’s ideal. Remember that they can reach heights of up to 8ft, so the higher and more secure the frame, the better your blooms.
2 Dig a trench and add in manure, cover with some soil and then position your young plants about six inches to a foot apart and cover roots completely with soil or compost. You can firm in gently with your foot. Stake the plants to the wire immediately: you can use twine or there are specific ties you can buy.
3 Once the plant is in the ground and secured to its climbing frame, water it and give it a feed of homemade comfrey liquid feed or tomato food once it starts flowering.
4 Generally speaking, the flowers that require more space tend to be the varieties that will grow tallest, so if your flower bed is placed in front of a hedge or wall, I would suggest planting the taller ones at the back of the bed and use the guide above so that you end up with a “steps of stairs” format. However, if you have a separate island or standalone bed, you could put the taller flowers in the centre and allow the smaller flowers to skirt the bed.
Transplanting Annuals: Planting
This is the fun bit: getting your hands dirty and absorbing all the bacteria that we hear will trigger the release of serotonin, so not only will we all have beautiful flowers for the summer, chances are we will be happier too.
1 Hold the pot or tray down and loosen the root-ball from the sides of the pot or module. Squeezing the pot /module and tapping it helps move it. Check to see if any roots are stuck in drainage holes and release them.
2 Make sure the soil is well prepared – you are looking to have it nice and loose.
3 All you need now is a small spade and maybe a kneeler if your knees are beginning to pain you like mine.
4 Decide on where you want each plant to grow. Place the little plants out on top of their positions before you start actually planting.
5 Dig out a hole that will be deep enough to cover the entire root-ball.
6 Firm in plants with your fingertips.
7 Water in all plants.
8 If you want to protect young plants from slugs, you can set up some barriers or traps or scatter some organic slug pellets around the plants.
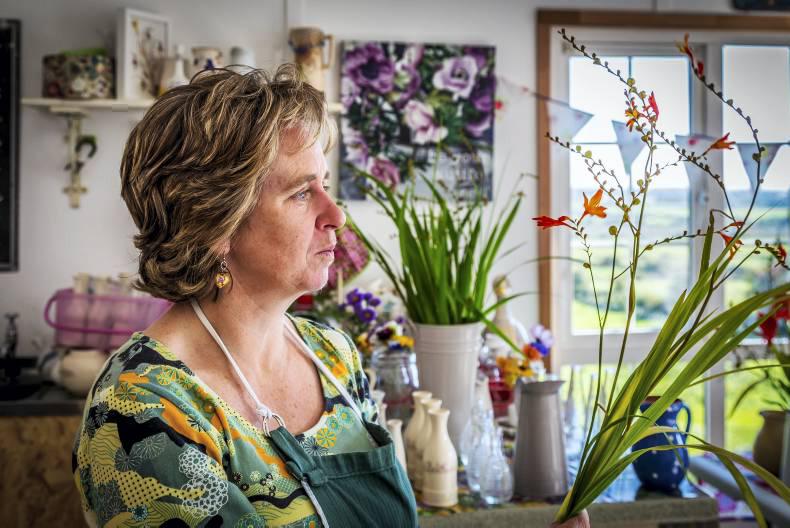
Maura Sheehy runs Maura’s Cottage Flowers near Tralee in Co Kerry, supplying cut flowers for weddings and businesses. Call 087-061-2622 or visit www.maurascottageflowers.com
Hopefully you have had success with your seed sowing and you are now ready to move your much-loved seedlings on to their next stage. This might be an individual pot or module, or their final planting position.
Once germinated plants get their first leaves and then true leaves, it’s time for them to be transplanted. Depending on what the plant is, it may be planted directly into a raised bed in a polytunnel, or if its final planting position is to be in an outside bed, the plant has to go through the hardening-off stage (this is when the plant is brought outside either from a windowsill or polytunnel and left there for a few hours each day and brought back inside before night for a period of five to seven days to acclimatise to outdoor conditions.)
As soon as seedlings are large enough to handle, they can be transplanted into pots or modular trays.
1 Begin by watering the young seedlings that are to be potted and allow them to drain.
2 Next, half fill the new pot or tray with a potting compost. This mix will have a wetting agent and nutrients in it to help it grow into a healthy plant.
3 It is important to be careful handling young seedlings. Keep in mind that it is through the stem that the plant gets its water supply, so gently lift the seedlings by the leaves with one hand (to avoid any damage to the stem) and use your dominate hand to gently loosen the roots from the compost for transplanting. Some people just use a pencil to prise them out. I use an old knife from my children’s cutlery set: it’s round and chubby, so makes an ideal tool for the job.
4 Position the seedling in the centre of the pot or module and fill in around the seedling with compost and firm gently with your fingertips, making sure there are no air pockets. Water regularly until the plant is ready to be put in the ground.
Transplanting annuals
Annuals can be transplanted into trays or three-inch pots when seedlings are large enough to handle.
After the hardening-off stage, the plants should have acclimatised to the cooler conditions of outside. When you feel the risk of frost has passed in your particular area, you can transplant your young plants into their bed.
Here is a guide to spacing suggestions for the 10 varieties in this project.
Cosmos: 12-18in apart.Cornflower: 8-12in apart.Nigella: 6in apart.Ammi majus: 18-24in apart.Antirrhinum: 12-18in apart.Straw flower: 12in apart.Calendula: 12in apart.Poppies: 9-12in apart.Larkspur: 18-24in apart.Sweet pea: These flowers require a bit more time and effort but will repay you tenfold with their graceful form and intoxicating perfume. They do like a bit more nutrition than most annuals. Well-rotted farmyard manure is ideal, but there are eco-friendly products available in your local garden centre that will be more pleasant to use.The steps
1 Before planting sweat pea, it is a good idea to have your climbing frame in place. Try to locate your sweet peas as near as possible to your living space so that you get the most value from their scent. Also, keep in mind you will need to cut them often as they go to seed quickly if not harvested. I use a few rows of sheep wire secured to tall stakes and it’s ideal. Remember that they can reach heights of up to 8ft, so the higher and more secure the frame, the better your blooms.
2 Dig a trench and add in manure, cover with some soil and then position your young plants about six inches to a foot apart and cover roots completely with soil or compost. You can firm in gently with your foot. Stake the plants to the wire immediately: you can use twine or there are specific ties you can buy.
3 Once the plant is in the ground and secured to its climbing frame, water it and give it a feed of homemade comfrey liquid feed or tomato food once it starts flowering.
4 Generally speaking, the flowers that require more space tend to be the varieties that will grow tallest, so if your flower bed is placed in front of a hedge or wall, I would suggest planting the taller ones at the back of the bed and use the guide above so that you end up with a “steps of stairs” format. However, if you have a separate island or standalone bed, you could put the taller flowers in the centre and allow the smaller flowers to skirt the bed.
Transplanting Annuals: Planting
This is the fun bit: getting your hands dirty and absorbing all the bacteria that we hear will trigger the release of serotonin, so not only will we all have beautiful flowers for the summer, chances are we will be happier too.
1 Hold the pot or tray down and loosen the root-ball from the sides of the pot or module. Squeezing the pot /module and tapping it helps move it. Check to see if any roots are stuck in drainage holes and release them.
2 Make sure the soil is well prepared – you are looking to have it nice and loose.
3 All you need now is a small spade and maybe a kneeler if your knees are beginning to pain you like mine.
4 Decide on where you want each plant to grow. Place the little plants out on top of their positions before you start actually planting.
5 Dig out a hole that will be deep enough to cover the entire root-ball.
6 Firm in plants with your fingertips.
7 Water in all plants.
8 If you want to protect young plants from slugs, you can set up some barriers or traps or scatter some organic slug pellets around the plants.
Maura Sheehy runs Maura’s Cottage Flowers near Tralee in Co Kerry, supplying cut flowers for weddings and businesses. Call 087-061-2622 or visit www.maurascottageflowers.com


SHARING OPTIONS