


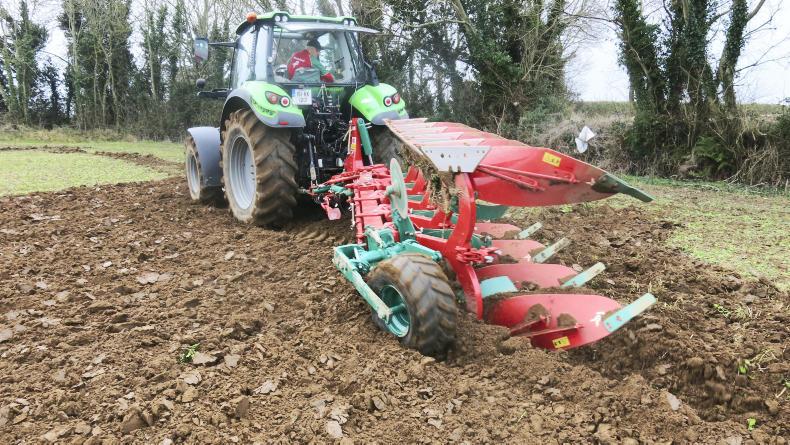
Most farmers will take great pride in a ploughed field that has a good finish. Apart from level fields, the plough has an important role in creating the foundations in the soil for the growing crop during the year. Consistent depth, uniform furrow widths along with the burial of trash are the fundamentals of ploughing. The plough can also eliminate minor compaction on the surface of the soil, and incorporate farmyard manure and any other organic material.
The Irish Farmers Journal teamed up with Kverneland’s John Colgan to get the basic settings right in the field.
It is very important that both rear tractor tyre pressures are the same when using a reversible plough. A couple of psi (bar) pressure in the difference can cause huge problems, according to John. Uneven tyre pressure is one of the most common causes of uneven ploughing because operators don’t check them and they think it will be alright. Tyre operating pressures will depend on the tyre manufacturer, who should have a guide available and some are available online or with iPhone.
Tip
Tyre pressure will influence traction and performance, 14 psi or 1 bar is ideal to reduce compaction if tyre size permits.
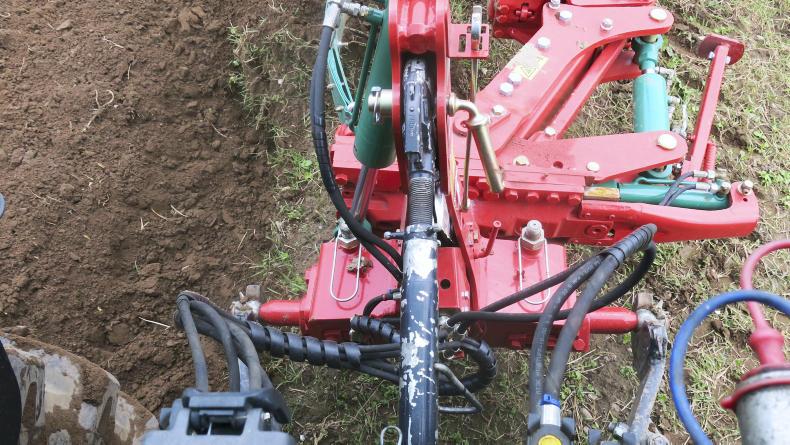
 Like tyre pressures, both lift arms need to be exactly the same length for even ploughing. Measure the left and right drop arms and adjust if necessary so both of the lift arms are level.
Like tyre pressures, this is especially important on reversible ploughs with one adjustment for both sides rather than individual adjustments for each.
This will ensure that the plough is matched on both sides when turned over for work in the field.
Tip
Unmatched joining furrows between passes are typically the result of incorrect lift arm settings.
 For a plough to run straight and true, the distance between the front wheels should be 5cm (2in) more than the rear wheels. John says that if you are wearing the landslides a lot it means your tractor is not running straight through the ground. When ploughing with the tractor wheel in the furrow bottom, the tractor will lean towards the ploughed land. This is exaggerated when operating at depths above 8in. For this reason, having the front wheels at least 5cm wider than the rear wheels will allow a straight line pull.
Tip
A plough with the correct alignment can steer itself down the furrow not fighting the tractor. And the toplink will run parallel from the tractor to the plough
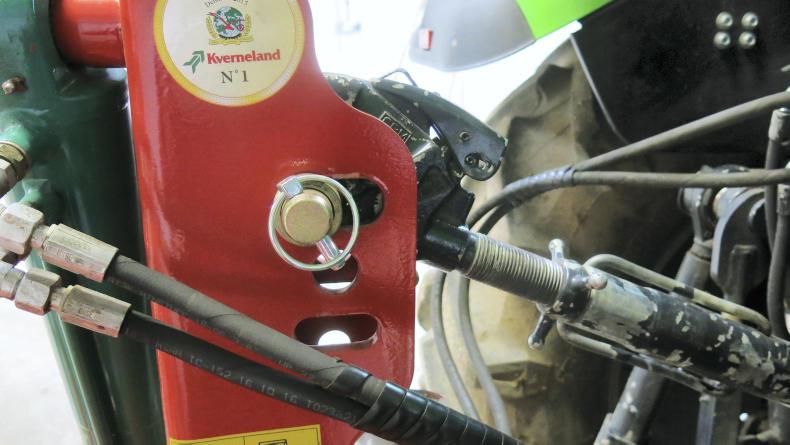
The spring is then adjusted on the second adjusting bolt until the distance between the centres of the spring pins is 70cm. This is the correct load on the plough body.
John explains that the advantage of this trip system is if you hit a rock and it trips, as the leg comes out of the ground the resistance becomes weaker.
He says that it’s not like a hydraulic trip system which gets stronger as it trips, putting more pressure on the plough leg.
Tip
If extra tension is needed, another leaf spring can be added. A bulging leaf spring means the plough will actually trip easier in hard ground.
The distance between the end of one mouldboard to another should measure 85cm (34in) and this should follow the whole way along the plough body.
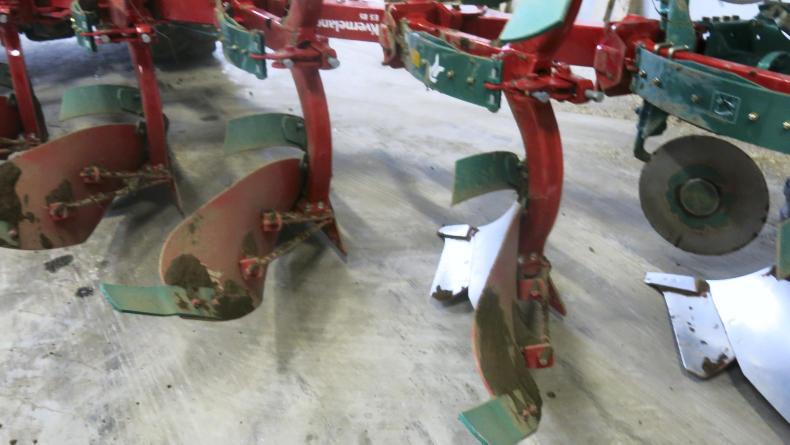
The stay bars on the rear of the mouldboard can be adjusted to get the correct clearance of 85cm on this model plough. The number 28 mouldboard is longer than the conventional number 8 board. This John says is particularly advantageous for larger tyres on tractors as they have a wider base in the furrow, not pinching the previous run.
The number 28 mouldboard takes a bigger slice, allowing a wider tyre to run on the tractor.
Tip
Measure the board in the yard, from point to point and from a fixed position on the mouldboard itself.
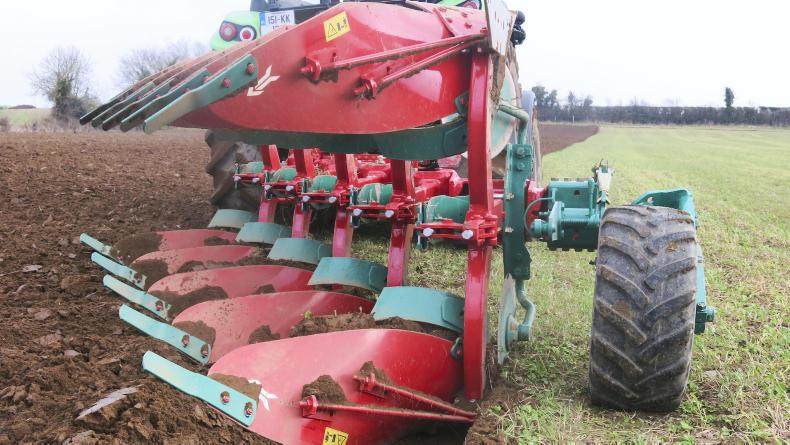
When ploughing, the plough legs on a Kverneland reversible should be at right angles to the ground. The reason for this is to align the plough bodies at the correct angle to the soil. This will ensure the plough will penetrate the soil and that all the land is ploughed level and at the same depth. If adjusted incorrectly, the plough will not run straight behind the tractor due to high forces on either the mouldboards or landsides. The furrows will also be uneven, with a narrow front furrow if the plough is leaning over the 90° and a wide front furrow if the plough is less than 90°.
Tip
If the plough fails to penetrate the soil or moves sideways away from its work, always check this adjustment. Do not adjust the front furrow width unless this setting is correct.
For the plough to perform correctly, the top link should be adjusted so that the plough frame is parallel to the ground. Use the slotted hole in the plough headstock with the pin central in the hole during ploughing for tractors with lower link arm sensing. This will allow the plough to move freely during operation and provide quick penetration of the soil at the headlands.
Tip
Look at the amount of soil travelling through the mouldboard. Too short will mean digging on the front furrow and a light rear furrow. Too long will give the opposite effect, with poorly matched ploughing.
If the front furrow width differs, adjust by moving the side shift assembly on reversible ploughs. If the correct setting is unobtainable, then the tractor wheel setting will have to be adjusted or the shaft itself. 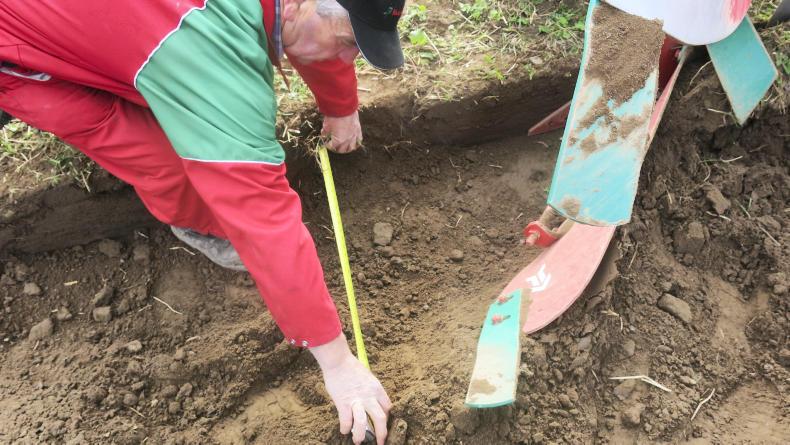 The front furrow setting is only set when the alignment of the plough behind the tractor is correct. Operators, who have to adjust this setting when turning over the plough, need to look at other possible faults as mentioned.
Tip
A simple mark on the cross shaft should show the operator if the plough has moved during work.
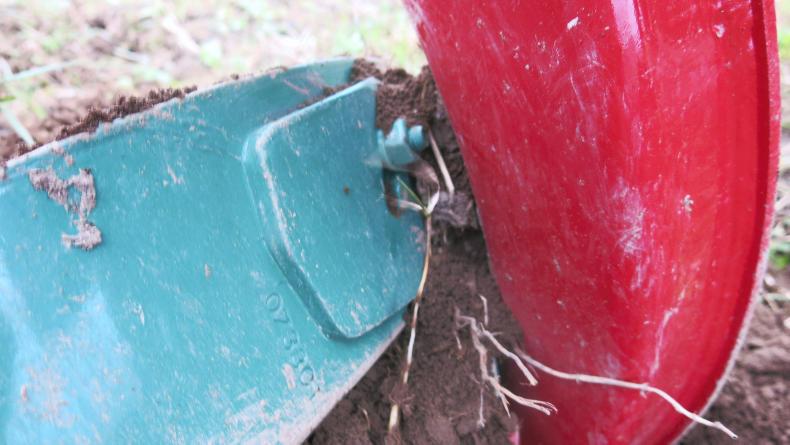
The skim coulter should work as close to the disc as possible without touching and adjusted with a gap of 3-5mm at the top to prevent trash build-up.
The working depth should be set between 2-5cm maximum. If set too deep, the furrows will be left open and cause unnecessary trash growth. Trash boards can also be fitted, and according to John perform well when ploughing in dung, or in crops such as oilseed rape where this is a large amount of surface trash.
Tip
Travelling too fast will not allow trash burial, essential in ploughing along with increased metal wear of plough components.
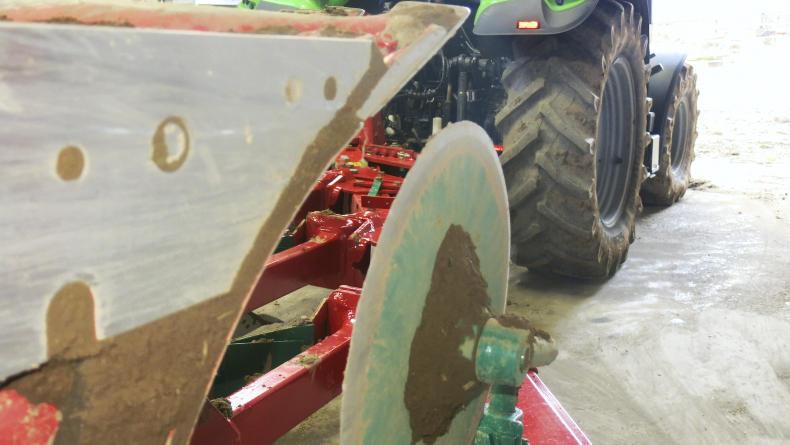 The disc coulter should be set in a vertical position and 1-2cm wider than the furrow width. Depending on soil conditions, the working depth should be between 4cm and a maximum of 10cm.
When working in light soil conditions it may be advantageous to widen the disc coulter to produce a clean furrow wall. When ploughing in stubble, one disc to the rear disc should work effectively.
Tip
The disc, when set correctly has about the space of your index finger between the skimmer point and the disc.
A little bit of attention at the start and end of the field is important, and often is overlooked. Deciding to throw the sod in or out from the hedge depends on the furrow location from last year. Ploughing from the same side every year will cause banking against the hedge.
When leaving the furrow in the hedge for the finish, it is often advisable to plough with the plough turned over for the first run by the ploughed ground. This adds a frame around the field, ensuring all parts are ploughed. The next run in the furrow will level off the sometimes bumpy ins and outs. If starting to plough out from the hedge, the furrow will be left in the field. In this scenario, lightening the depth of the rear furrow is achieved by either slightly angling the plough hydraulically or lowering the rear depth wheel.
SHARING OPTIONS