



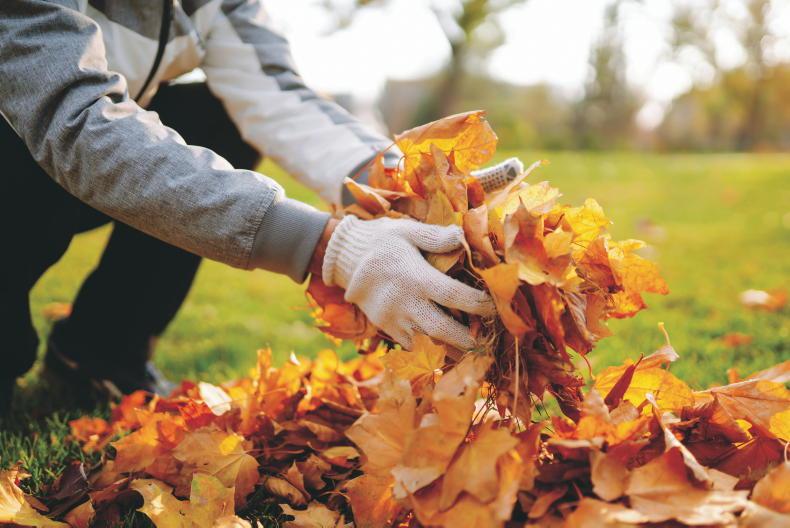
Light softens, temperatures drop and the green leaves of deciduous trees turn to shades of yellow, orange and red.
After the summer’s drought, leaf fall may have begun early in some parts of the country, but one strong wind in the coming weeks will bring down what’s left.
Sweeping, blowing and collecting leaves is synonymous with autumn and now is the time to start planning what to do when your garden becomes fully carpeted. As deciduous trees shed their canopy, they provide one of the most useful materials available to gardeners, fallen leaves.
Instead of treating them as a nuisance or sending them off as waste, set aside a space now to collect them and turn them into leaf mould, an easy-to-make, reliable garden input that improves soil structure and increases organic matter.
Leaf mould is not a substitute for garden compost, as it contains relatively few nutrients. Its real value lies in improving soil structure. When used as a mulch on light, sandy soils, it increases water retention; on heavier soils it helps to improve drainage and aeration.
It also makes an attractive mulch for perennial borders and soft fruit. Well-rotted leaf mould generally takes two years or more to produce and can be sieved and mixed with sharp sand, garden compost and good-quality soil to make an excellent seed or potting compost.
Before collecting leaves, avoid being too tidy, as overwintering wildlife needs habitat too. Clearing leaves from paths is essential, as wet leaves quickly become slippery and hazardous. Lawns benefit from regular raking, as a thick layer of leaves can smother grass and encourage moss over winter.
Vegetable beds are a different story. A light covering of leaves will break down over winter and help prepare the soil for spring, so there is no need to be overly fussy.
Leaves can also be swept under hedges or left around the bases of trees, where they will decompose naturally and enrich the soil beneath. The main exception is around fruit trees and bushes. If you have had problems with diseases such as apple scab, or pests that overwinter in fallen debris, it is worth collecting and disposing of affected leaves to help reduce reinfection the following year.
Simple leaf mould bin
Because leaves are largely made up of carbon and are broken down mainly by fungi, the process is slow. Leaf mould typically takes at least a year and a half to mature and often longer.
For this reason, it is best to keep autumn leaves separate from your main compost heap, where large quantities can slow down decomposition. Instead, give them their own dedicated container or pile.
A simple leaf mould bin can be made using four wooden posts and chicken wire. Position the posts approximately 60 to 90cm apart and attach the wire around them to form an open-sided container. Place it somewhere convenient, as you will be adding leaves each autumn and removing finished mould later. If space allows, having more than one bin means you can start a fresh batch each year while older material continues to break down.
Builder’s tonne bags work too if you tie the handles together and, for those with limited space, bin bags with holes punched in them are a good option. Whatever system you use, pack the leaves down, as you need far more than you think.
Leaf mould needs to remain moist and reasonably well aerated. I tend to be a tad impatient and spread it on the soil after a year or so, letting the worms finish the job, but for seed and potting compost, two years is usually worth the wait.
Oak, beech and hazel all make excellent leaf mould and break down relatively quickly. Sycamore, sweet chestnut and horse chestnut have thicker leaves and take a little longer.
Shredding them first speeds things up considerably. If you do not have a shredder, running over them with a lawnmower works just as well. Pine needles also make a lovely leaf mould, perfect for acid-loving plants such as blueberries.
For good decomposition, keep the leaves damp but not waterlogged. Give them a good soaking when first collected and check them during prolonged dry spells, watering if necessary. Apart from that, there is little to do except wait. The pile will gradually reduce in volume as the leaves decompose, eventually becoming a beautiful dark, crumbly material.
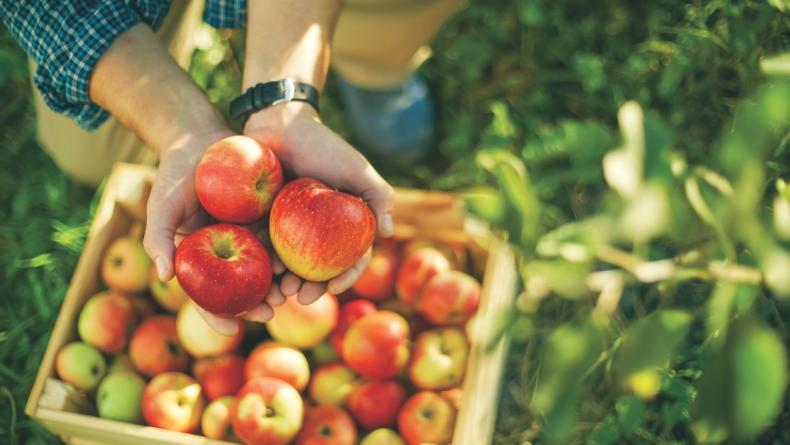
My apples ripened earlier than usual this year, and it felt quite warm for storage. What conditions are best for keeping them? – Sarah Kennedy, Co Louth
Firstly, only store apples that are in prime condition, with no bruises, blemishes or signs of rot. Get them somewhere cool as soon as possible after picking, to slow deterioration. Wrap them individually in paper and place them in slatted or ventilated crates, rather than a solid box or plastic sack. Choose the coolest, darkest part of your shed or outbuilding, along a north-facing wall is often a good option.
Ensure the shed is rodent-proof and check the apples regularly, removing any that deteriorate. Commercially, apples are stored at around 1-3°C, which explains why a fridge would provide ideal conditions, although impractical for large quantities.
Sow now: few things can be sown at this time of year, but garlic and overwintering onion sets can be planted directly outside now and will thrive through winter.
Later this month: broad beans and round-seeded peas can also be sown for an early harvest next spring, but depending on your location, they may benefit from the protection of a tunnel or greenhouse.
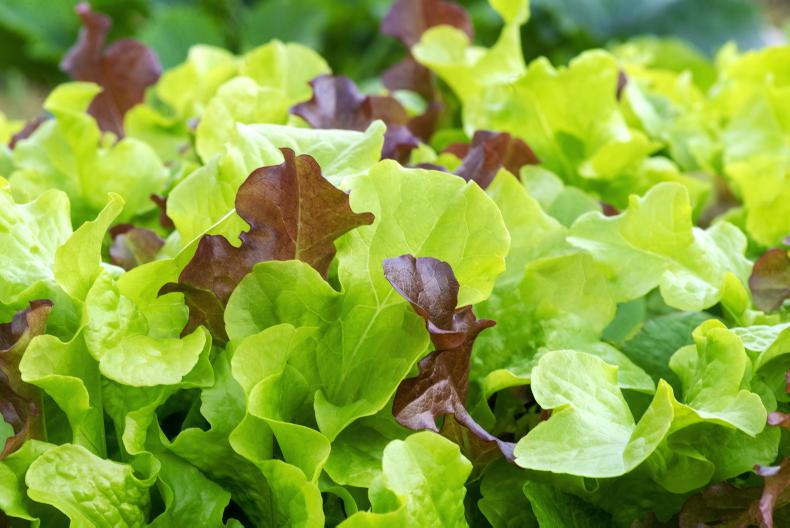
Winter salad: such as rocket, mizuna and winter lettuce can be sown under protection, but should be sown early in October.
Hardy annual flowers: such as cornflowers and nigella can also be sown directly or in trays early for earlier flowering next year.





SHARING OPTIONS