While spring is still a couple of months away, planning to make quality silage starts now. The first question that needs answered is what is high-quality silage and why make it?
From a feeding point of view, quality silage has:
Good levels of energy, ideally above 11 ME.Good levels of protein, ideally above 12%.Good fermentation to preserve these.Dry matter between 28% and 40% to maximise fermentation and intake.Table 1 demonstrates the costs of making differing numbers of silage cuts and the energy level in those silages.
A few things should be noted here. Firstly, there is a land charge. A land charge is required to give a fair comparison across different types of feeds. If silage were not to be made, it could be replaced with purchased feeds such as straw, hay, draff and concentrates, freeing up the land for other uses such as grazing or cereals. This might even mean that there is no need to rent in grazing.
Secondly, all operations have been charged at contract rates and the fertiliser applied is to replace offtakes of P and K and to give sufficient N to grow the crop.
Finally, there is a charge for reseeding and liming included.
Multi-cut silage
The table demonstrates that the cost of energy (MJME) harvested is lower for higher quality multi-cut silage than it is for one big cut midsummer.
However, many would correctly argue that good silage is too good for dry suckler cows. This leads to the question of why would you feed good silage to a dry suckler cow at all?
At a cost of £140/t to £150/t DM, it is more expensive than purchased straw or hay and far more expensive than a forage crop.
If suckler cows are to be fed this silage, they either need to be on a restricted diet, or have it diluted with straw.
Seven steps to quality silage
Step 1 - Make a plan
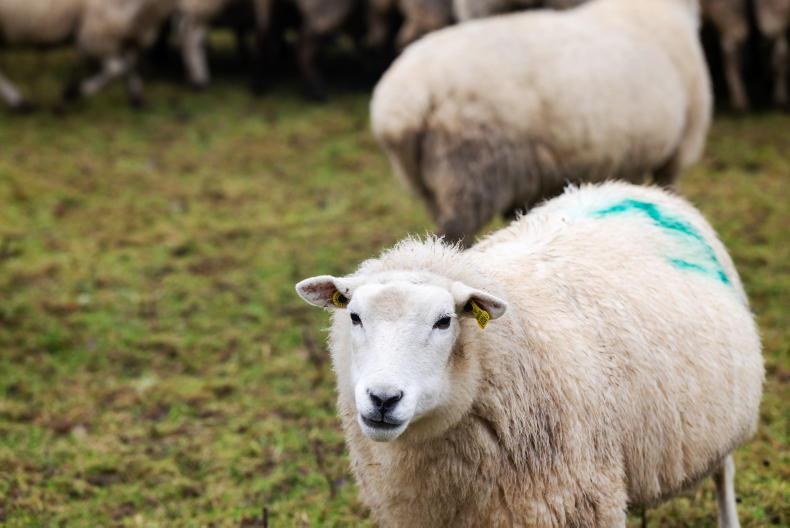
First, we must establish what animals are we feeding, how many of each group are there and how long do we anticipate feeding them for. Without knowing this, we do not know the area to be cut or when to cut. We also need to establish whether we are grazing the field first. On many upland farms, the silage fields are also the lambing fields due to proximity to the yard and quality of grass. This means that the sheep will eat what is effectively the first cut, meaning that conserved forage follows this.

Paddy Connolly buffer feeding red clover to the dairy herd berfore milking for William Griffin Coolkennow, Tullow, Co Carlow. They are using silage to stretch the grass in the field and although it was recommended to ferment the red clover in a pit, they have had good success baling it. \ Philip Doyle
Step 2 – Set the fields up
Field surfaces need to be free of both stones and earth such as molehills. Rolling will attend to the stones, while harrowing will remove the molehills and other raised areas of earth. Removing stones means that machinery is not damaged and removing earth reduces potential contaminants from the silage. Earth in silage can lead to Listeriosis in sheep.
Grazing out all of the dead grass matter that has accumulated through winter and early spring will raise the quality of the silage. Otherwise, this dead matter will be ensiled along with the good quality feed, reduce feed quality and introduce mould toxins to the silage.
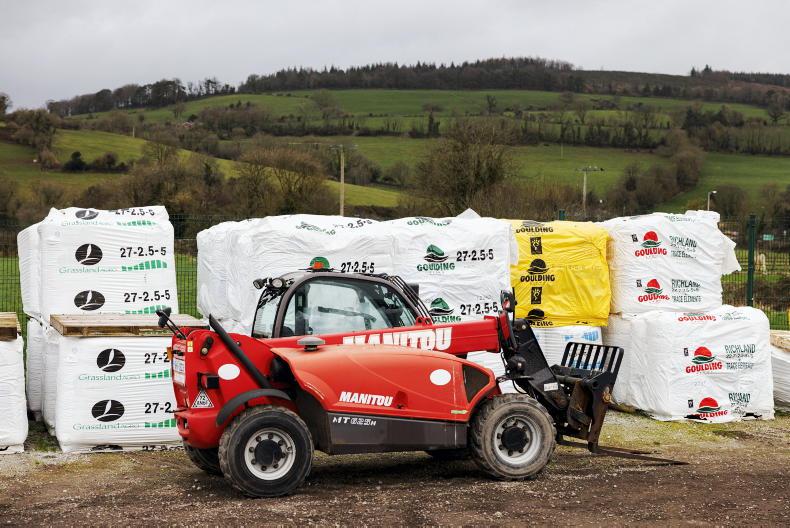
Step 3 – Fertiliser for silage
The first step when fertilising for silage is to replace the offtake of Phosphate (P) and Potash (K). P offtake is 7kg per tonne of dry matter yield and K offtake is 24kg per tonne of dry matter. Taking an average of the last three years of dry matter yield will give an idea of application requirements. Firstly, take account of any organic manures applied and subtract them from the requirement. Then use bagged product to make up the shortfall.
Under ideal growing conditions Nitrogen (N) is taken up at a rate of 2.5kg/ha/day. Therefore, an application of 100kg/ha of N will mean under optimum conditions, the grass needs 40 days to use all of the nitrogen applied. If there is excess nitrogen in the plant at cutting, the silage can go on to have a poor fermentation with large amounts of ammonia in it. This reduces intake and increases spoilage.
There is little point in going to the effort and expense of making the best silage possible to waste it in the yard
Step 4 – Cutting
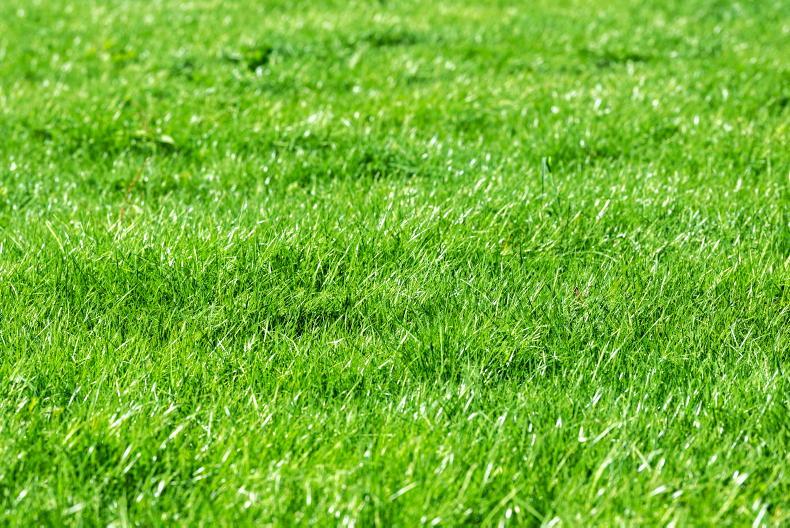
Sunlight and high pressure weather draw the sugars up the plant stem. Cutting after midday will ensure that the maximum amount sugar has been drawn up by the plant pre cutting, leading to a higher feed value silage.
Whilst nitrogen uptake is 2.5kg/ha/day in optimal conditions, it is less under poorer growing conditions. If weather has been poor and you are unsure if all of the N applied has been taken up, fresh grass can be sent to the lab to be sampled for nitrates to check.
Grass should also not be cut too low. Whilst we want to maximise the yield of the crop, cutting too low stalls regrowth. Also, in wetter years and rougher fields it raises the risk of soil contamination.
Step 5 – Wilting
Once cut, the grass should be spread as soon as possible to maximise the wilt. Wilting concentrates the sugars in the plant, leading to better fermentation. However, excessive wilting leads to quality losses and silages that are too high in dry matter. 24 – 48 hours is optimal. Once rowed up, silage will continue to wilt, so this should be taken in to account when planning.
Both rake and tedder tines also require to be set correctly to minimise soil contamination.
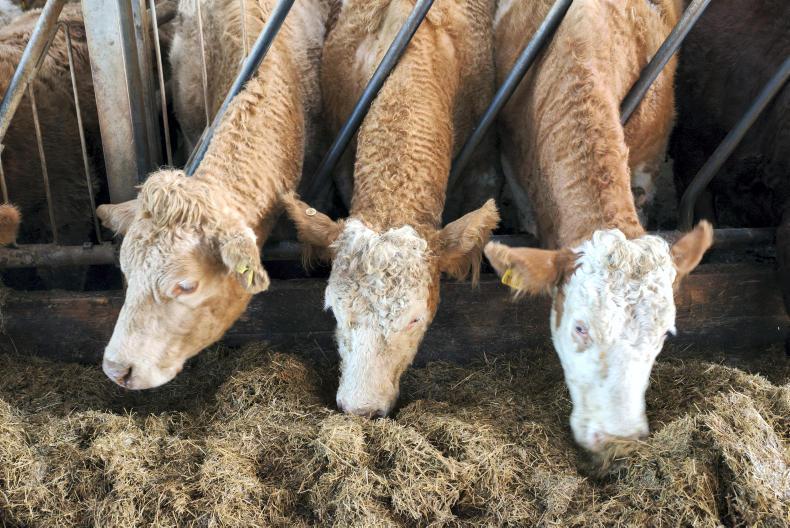
Cyril Keane feeding silage to his herd of Limousin and Charolais sucklers in Ballinamana West, Clarenbridge, Co Galway. The cattle are in sheds due to inclement winter weather. \ David Ruffles
Step 6 – Ensiling
Silage fermentation is an anaerobic process, meaning it requires the exclusion of air. Ensiling should be carried out as promptly as possible. The pit should be well consolidated, and bales should be sufficiently tight, without overdoing it.
Pits should be filled in regular, narrow layers to ensure best consolidation. They should also be filled in a wedge like shape back to front. The sides also need to be well compacted, to minimise shoulder losses.
Achieving a speedy seal on both bales and pits is key to minimising waste. With bales, they should be wrapped the day that they are made and ideally at the stack to minimise wrap disturbance from handling. Also ideally, if pitting silage for more than one day, cover the pit overnight.
Step 7 – Feedout
This may seem strange that feedout is included. However, large quality losses can be experienced at feedout and there is little point in going to the effort and expense of making the best silage possible to waste it in the yard. In order to minimise losses, the air seal needs to be maintained as far as practicable throughout the season. Pull back the cover regularly over short distances to keep the seal.
The pit face should be kept clean and tidy to minimise spoilage. A sharp shear grab will aid with this. If the silage face is heating at feedout, it is spoiling. This means that any means of speeding up progress across the face should be employed such as taking smaller shear grab bites. Bales likewise should have the air seal maintained. The key is to not move them until as close to feedout as practicable.
Dispose of waste plastic properly. With the advent of clear wrap, recycling opportunities are improving.
While spring is still a couple of months away, planning to make quality silage starts now. The first question that needs answered is what is high-quality silage and why make it?
From a feeding point of view, quality silage has:
Good levels of energy, ideally above 11 ME.Good levels of protein, ideally above 12%.Good fermentation to preserve these.Dry matter between 28% and 40% to maximise fermentation and intake.Table 1 demonstrates the costs of making differing numbers of silage cuts and the energy level in those silages.
A few things should be noted here. Firstly, there is a land charge. A land charge is required to give a fair comparison across different types of feeds. If silage were not to be made, it could be replaced with purchased feeds such as straw, hay, draff and concentrates, freeing up the land for other uses such as grazing or cereals. This might even mean that there is no need to rent in grazing.
Secondly, all operations have been charged at contract rates and the fertiliser applied is to replace offtakes of P and K and to give sufficient N to grow the crop.
Finally, there is a charge for reseeding and liming included.
Multi-cut silage
The table demonstrates that the cost of energy (MJME) harvested is lower for higher quality multi-cut silage than it is for one big cut midsummer.
However, many would correctly argue that good silage is too good for dry suckler cows. This leads to the question of why would you feed good silage to a dry suckler cow at all?
At a cost of £140/t to £150/t DM, it is more expensive than purchased straw or hay and far more expensive than a forage crop.
If suckler cows are to be fed this silage, they either need to be on a restricted diet, or have it diluted with straw.
Seven steps to quality silage
Step 1 - Make a plan
First, we must establish what animals are we feeding, how many of each group are there and how long do we anticipate feeding them for. Without knowing this, we do not know the area to be cut or when to cut. We also need to establish whether we are grazing the field first. On many upland farms, the silage fields are also the lambing fields due to proximity to the yard and quality of grass. This means that the sheep will eat what is effectively the first cut, meaning that conserved forage follows this.
Paddy Connolly buffer feeding red clover to the dairy herd berfore milking for William Griffin Coolkennow, Tullow, Co Carlow. They are using silage to stretch the grass in the field and although it was recommended to ferment the red clover in a pit, they have had good success baling it. \ Philip Doyle
Step 2 – Set the fields up
Field surfaces need to be free of both stones and earth such as molehills. Rolling will attend to the stones, while harrowing will remove the molehills and other raised areas of earth. Removing stones means that machinery is not damaged and removing earth reduces potential contaminants from the silage. Earth in silage can lead to Listeriosis in sheep.
Grazing out all of the dead grass matter that has accumulated through winter and early spring will raise the quality of the silage. Otherwise, this dead matter will be ensiled along with the good quality feed, reduce feed quality and introduce mould toxins to the silage.
Step 3 – Fertiliser for silage
The first step when fertilising for silage is to replace the offtake of Phosphate (P) and Potash (K). P offtake is 7kg per tonne of dry matter yield and K offtake is 24kg per tonne of dry matter. Taking an average of the last three years of dry matter yield will give an idea of application requirements. Firstly, take account of any organic manures applied and subtract them from the requirement. Then use bagged product to make up the shortfall.
Under ideal growing conditions Nitrogen (N) is taken up at a rate of 2.5kg/ha/day. Therefore, an application of 100kg/ha of N will mean under optimum conditions, the grass needs 40 days to use all of the nitrogen applied. If there is excess nitrogen in the plant at cutting, the silage can go on to have a poor fermentation with large amounts of ammonia in it. This reduces intake and increases spoilage.
There is little point in going to the effort and expense of making the best silage possible to waste it in the yard
Step 4 – Cutting
Sunlight and high pressure weather draw the sugars up the plant stem. Cutting after midday will ensure that the maximum amount sugar has been drawn up by the plant pre cutting, leading to a higher feed value silage.
Whilst nitrogen uptake is 2.5kg/ha/day in optimal conditions, it is less under poorer growing conditions. If weather has been poor and you are unsure if all of the N applied has been taken up, fresh grass can be sent to the lab to be sampled for nitrates to check.
Grass should also not be cut too low. Whilst we want to maximise the yield of the crop, cutting too low stalls regrowth. Also, in wetter years and rougher fields it raises the risk of soil contamination.
Step 5 – Wilting
Once cut, the grass should be spread as soon as possible to maximise the wilt. Wilting concentrates the sugars in the plant, leading to better fermentation. However, excessive wilting leads to quality losses and silages that are too high in dry matter. 24 – 48 hours is optimal. Once rowed up, silage will continue to wilt, so this should be taken in to account when planning.
Both rake and tedder tines also require to be set correctly to minimise soil contamination.
Cyril Keane feeding silage to his herd of Limousin and Charolais sucklers in Ballinamana West, Clarenbridge, Co Galway. The cattle are in sheds due to inclement winter weather. \ David Ruffles
Step 6 – Ensiling
Silage fermentation is an anaerobic process, meaning it requires the exclusion of air. Ensiling should be carried out as promptly as possible. The pit should be well consolidated, and bales should be sufficiently tight, without overdoing it.
Pits should be filled in regular, narrow layers to ensure best consolidation. They should also be filled in a wedge like shape back to front. The sides also need to be well compacted, to minimise shoulder losses.
Achieving a speedy seal on both bales and pits is key to minimising waste. With bales, they should be wrapped the day that they are made and ideally at the stack to minimise wrap disturbance from handling. Also ideally, if pitting silage for more than one day, cover the pit overnight.
Step 7 – Feedout
This may seem strange that feedout is included. However, large quality losses can be experienced at feedout and there is little point in going to the effort and expense of making the best silage possible to waste it in the yard. In order to minimise losses, the air seal needs to be maintained as far as practicable throughout the season. Pull back the cover regularly over short distances to keep the seal.
The pit face should be kept clean and tidy to minimise spoilage. A sharp shear grab will aid with this. If the silage face is heating at feedout, it is spoiling. This means that any means of speeding up progress across the face should be employed such as taking smaller shear grab bites. Bales likewise should have the air seal maintained. The key is to not move them until as close to feedout as practicable.
Dispose of waste plastic properly. With the advent of clear wrap, recycling opportunities are improving.


SHARING OPTIONS