

One of the many Smarter Milking events that took place around the country was held on David Hannon’s farm in Co Meath last week These events were organised by FRS, Teagasc and Animal Health Ireland (AHI). A number of topics were covered at the event, including cow flow, milking technique, energy, milk quality and standard operating procedure. In this week’s Your Farm we look at some of these topics in detail and we will cover the remainder next week. FRS, Teagasc and AHI are running a milking course which involves two days training followed by an assessment and includes practical milking. More info on the course can be found on the FRS website.
Cow flow
Jim Dockery from FRS explained the principles of cow flow. “The definition of cow flow is the movement of the cow from the paddock to the yard, through the parlour and back out as smoothly and efficiently as possible,” explained Jim. He said anything that upsets that flow is a hindrance. The cow likes to be milked, they are creatures of habit, they like routine.
The route leaving the paddock and all the way to the collecting yard should be clear and easy to navigate said Jim.
“If this route is stress-free and all the cows experience travelling from the paddock to the milking parlour are positive then she will let milk down easier,” he explained. Roadway width is very important in dairying. “What has happened in the recent dairy expansion is cow numbers have increased, but sometimes the infrastructure hasn’t,” said Jim. The width of the gap going into the paddock and the width of the roadway should be wide enough to comfortably accommodate the cow numbers.
“Someone with 100 cows might be looking at a 5m wide roadway. If you are up to 400 cows, the width should be increased to 7m,” said Jim. He warned that farmers should be careful with shaded areas on roadways. Trees and hedges should be trimmed back to allow the roadway to dry. Use good materials in the roadway and avoid sharp-edged stone.
“Avoid too high of cambers on the roadway because cows won’t walk sideways but you still need the water to be able to run off it,” Jim explained. “Ideally cows should enter the rear of the collecting yard, that way they will flow into the parlour quicker,” said Jim. He said there should be enough space in the yard to accommodate all the cows. Space in the parlour itself should not be included here when cows are gathered for milking. Jim says this is down to the variation in body size during the year. In the spring time cows are usually at their thinnest after calving but by November body size increases substantially as they become heavier in-calf. Yard space required is 1.25-1.5m2.
“Backing gates are quite useful, the key point with them is that there is a hock rail available for cow safety,” said Jim. A backing gate should never be used to force cows, rather just to fill the space as cows push up. Jim said gates that move one metre at a time are usually best and or gates with an alarm are useful too. This helps prevent cows getting squeezed if a gate is left moving by accident.
Milking routine
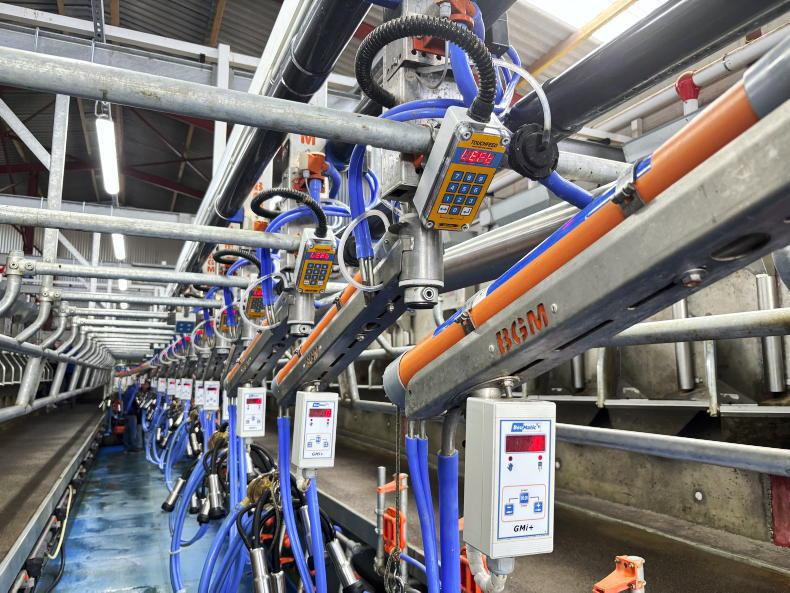
Padraig O’Connor from Teagasc explained some points to consider to make the milking routine more efficient. He said that proper milking routine requires the wearing of clean milking garments. Milkers should wear disposable nitrile gloves and a clean parlour apron or parlour suit. Padraig says once cows are rowed up in the parlour they should be milked in batches.
“Prep four cows, put the clusters on those four cows and teat spray the four cows you are after taking the cluster off,” he said.
The teats should be dry and clean prior to milking. Teats should be washed and dried prior to milking. A dry wipe with some paper towel is sufficient for clean teats. All teats should be fore milked approximately 90 seconds before the cluster is attached. By milking cows in batches you can minimise the amount of walking you do. It also means you are getting the teat spray on cows sooner after the cluster comes off. With an interval of 90 seconds between preparation and cluster attachment milk let down will be maximised. Padraig says when attaching the clusters, keep the pulse and milk tubes on the cow exit side of you ensuring that they are not in the way when moving to the next cluster. Hold the cluster with the hand closest to the cow exit side (usually the hand nearest the dairy).
“Changing hands will help avoid repetitive strain injury,” Padraig explained. When attaching clusters on the left-hand row, the cluster should be held in the right hand, for the right-hand row the cluster should be held in the left hand.
Kink the tail of the liner when attaching to the cows teat and also guide the teat into the liner with your finger. Attach the liners in a circular motion starting with the one closest to the thumb of the hand holding the cluster.
“When switching the clusters from one side to the other, make sure you are standing at the upper side of the milk tube that is connected to the clusters. When you switch it around, the tube will now be the upper side of you and it won’t be in your way when you go across to change the next cluster across,” he said.
Manual cluster removal should commence when a single stream of milk is visible in the claw piece. The cluster should be detached with the hand that you intend to attach it to the next cow.
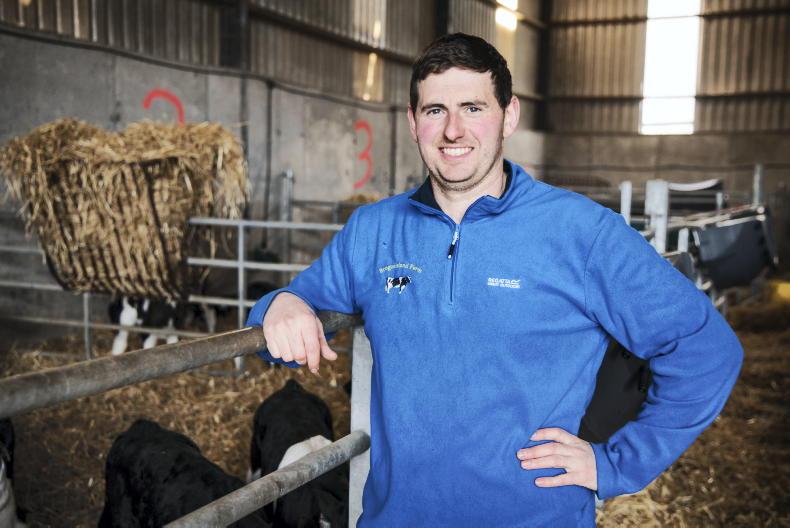
Standard operation procedure (SOP) is becoming more common, especially on expanding dairy farms. It entails a set of step by step instructions that are compiled by the farm owner/manager on how to carry out the milking procedure. David Hannon has used SOP for over 20 years.
“I started using it because we had a number of different relief milkers coming in during the year and I wanted them to be able to do the job without me being there” he explained.
“It just involves setting out simple instructions about how to set up the machine and how to do the job so the relief milker can understand without the need to call for help every time,” he said.
The instructions are displayed on laminated A4 procedure sheets which are kept brief and clear eg how to start the machine, how to finish the milking, wash-up etc.
Cows with issues are also well marked using tape or leg bands and the markings are explained on the laminated sheets.


SHARING OPTIONS