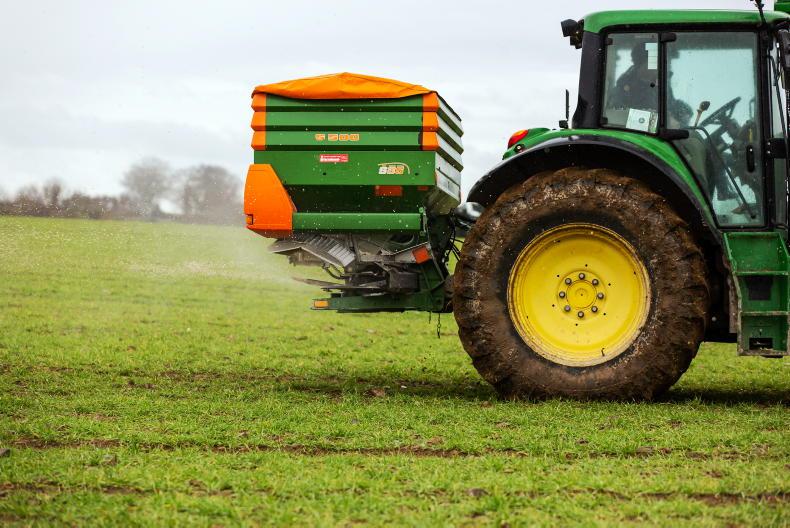
Sustainable fertiliser spreading starts with choosing the correct product as guided by the results of soil testing. After that, the operator must ensure the spreader is set up correctly.
Correct spreader setup is an essential step in the efficient use of fertiliser and it starts when the spreader is attached to the tractor.
Level
Operators should make sure that the spreader is level. Parking on a flat surface and getting out the spirit level or measuring the height off the ground on both sides are simple ways to check this.
The spreader should be calibrated between each type of fertiliser being spread, and even between different batches. For example, if you have two different makes of CAN on your farm, then you should calibrate for each one.
The general way to test spread pattern is to use trays placed at equal distances apart across the spread width
Decide on the correct rate and use the spread charts on the mobile app or the manufacturer’s website to decide on the settings.
Once the spreader is set up, you then need to test the spread pattern. Investing in a test kit could be worthwhile. Different spreaders have different setups, so make sure you get advice before testing the pattern.
The general way to test spread pattern is to use trays placed at equal distances apart across the spread width. Then spread that run and the two adjacent runs to provide the necessary overlap. Then pour the fertiliser from each tray into individual measuring devices in the order in which they were placed in the field. The fertiliser should be even in height across the tubes.
If it is not even, adjustments will be needed. Uneven spread could be caused by an unlevel spreader, worn discs, a damaged dispenser on a wagtail, or the spreader might not be at the correct height.
Some manufacturers have mobile apps to help with spread pattern testing and will suggest adjustments to correct the pattern.


 This is a subscriber-only article


SHARING OPTIONS: