Well there’s no doubt about it, you pay for every pleasure in this world. After a miserable month of March, there I was as happy as Larry after April and May turned out to be two great months in the garden. Everything was growing and flowers weren’t getting washed out by the rain. There was comfort all round.
Then, Friday 22 May wiped the smile off my face. The god of the winds said I will make you pay for two months of perfect conditions. And with it, at about 7pm that evening, the wind took to howl and screech.
We got to stake a few plants but for the most part I could only watch as the gale whipped and smashed its way through the garden. We have a little grove of nine betula jacquemontii (Himalayan birch) and they were bending almost to the ground.
I went to bed with a heavy heart and I even pulled the curtains closed so I wouldn’t see what was happening. And our bedroom curtains never get closed.

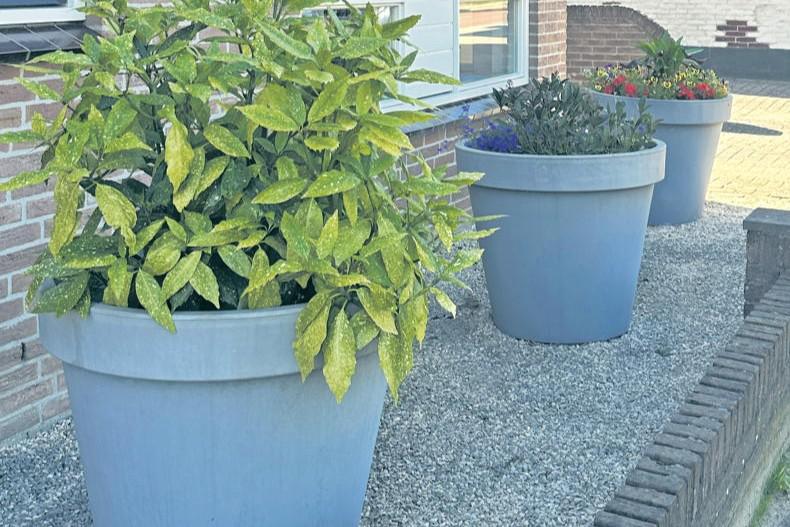
Wind damage on the tender foliage of this perennial. I hope it recovers. \ Mairead Lavery
So what did I find in the morning? Lilies and alliums were badly hit – flattened in some cases. Roses had their new foliage badly wind-burnt as did many of the herbaceous plants. I had one lovely scarlet peony with about 20 flower buds only a week from flowering but despite staking, it got knocked for six. But there you go. Humans plan and God laughs.

Young rhododendron in its second year of flowering. \ Mairead Lavery
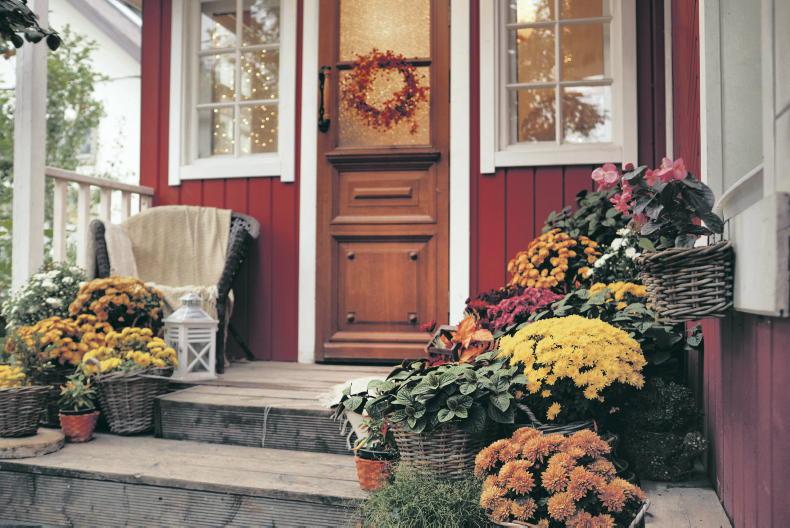
My next job is to whitewash the poles coming down the avenue and get my pots filled with summer bedding. I never plant the pots until after the June bank holiday and with good reason. Petunias on their own and pelargoniums with baby’s breath are my favourite combinations. I can’t wait to get to my local garden centre. At least the weather looks promising.
Time to...
Unlike me, remember to take the time to stake the likes of old-fashioned lilies and peonies. They can be badly hit in high winds.Keep an eye out for snail damage on lupins and ligularias and deal with it straight away. Watch out for emerging dahlia foliage because you need to locate and protect it before the slugs find it. Be sure to visit your local garden centre. They badly need your support.Last month I asked readers to share their recipes for the best whitewash and promised 25 snowdrop bulbs to
the winner. Thank you for all your responses. I have not one, but two winners, and here they are:
Dear Mairead,
The residents at Maria Goretti Nursing Home in Killmallock, Co Limerick, were thrilled to reminisce on the whitewashing. They were so proud to be telling of their experiences. It was an opportunity for them to laugh, tell stories and feel they were the people with the best knowledge on this topic.
Due to current restrictions, daily life is different for the residents, but we strive to provide as much normality as possible.
Many thanks,
Breda O’Dwyer, activity co-ordinator.
Whitewashing recipe and advice from the residents of the Maria Goretti Nursing Home:
• Time: Early summer on a calm, dry day. Get it done before the visitors start coming home for the summer. These were the special guests who were entertained in the parlour. If the summer was wet, the whitewashing would need to be done again in early autumn.
• Where to whitewash: Inside the kitchen, especially around the open fire. This would be done a few times in the year to keep everything fresh. Out houses, exterior walls, boundary walls around the yard and calf houses when the calves went out to grass. This was to kill bacteria for the next year.
• Who did the work and what did they wear: Women usually did the work. They wore old clothes and a cap or old headscarf. Women wearing skirts wore a housecoat that was used for painting and outside jobs.
• Equipment: A five-gallon bucket and a three-tufted whitewash brush that should last up to four years. Plastic household gloves used from year to year for the white washing. A clean, dry stick from the ditch for stirring. Water from the well or the tap. A bag of lime and a plastic sheet to protect the floor or ground. This was also kept for years. People used straw to protect the ground outside, especially if it was a calm day.
• Method: Put three gallons of water in a five-gallon bucket. Gradually add fistfuls of lime and keep stirring until it’s the consistency of paint. If lime is left over, tie the bag with chord and store in a dry place.
Brenda’s secret recipe for whitewash
50lbs of hydrated mason’s lime10lbs of table saltWaterOptional: dried colour particlesMix
Mix lime and salt together dry. If using colour, blend them together. Add water slowly until the mixture looks like pancake batter or a creamy latex paint. Don’t stop stirring until all of the lime is dissolved in the water.
Some tips
Do not add sand if you want a smooth finish. It is best if the temperature is 200C or less for 12 hours for it to set right. When you mix whitewash, you don’t have to use it straight away. Make sure the surface is clean and damp. Whitewash usually goes on blotchy and looks like it is not covering well. But wait until the next day. If you put on a normal coat as you would paint, it dries a brilliant white.
Well there’s no doubt about it, you pay for every pleasure in this world. After a miserable month of March, there I was as happy as Larry after April and May turned out to be two great months in the garden. Everything was growing and flowers weren’t getting washed out by the rain. There was comfort all round.
Then, Friday 22 May wiped the smile off my face. The god of the winds said I will make you pay for two months of perfect conditions. And with it, at about 7pm that evening, the wind took to howl and screech.
We got to stake a few plants but for the most part I could only watch as the gale whipped and smashed its way through the garden. We have a little grove of nine betula jacquemontii (Himalayan birch) and they were bending almost to the ground.
I went to bed with a heavy heart and I even pulled the curtains closed so I wouldn’t see what was happening. And our bedroom curtains never get closed.
Wind damage on the tender foliage of this perennial. I hope it recovers. \ Mairead Lavery
So what did I find in the morning? Lilies and alliums were badly hit – flattened in some cases. Roses had their new foliage badly wind-burnt as did many of the herbaceous plants. I had one lovely scarlet peony with about 20 flower buds only a week from flowering but despite staking, it got knocked for six. But there you go. Humans plan and God laughs.
Young rhododendron in its second year of flowering. \ Mairead Lavery
My next job is to whitewash the poles coming down the avenue and get my pots filled with summer bedding. I never plant the pots until after the June bank holiday and with good reason. Petunias on their own and pelargoniums with baby’s breath are my favourite combinations. I can’t wait to get to my local garden centre. At least the weather looks promising.
Time to...
Unlike me, remember to take the time to stake the likes of old-fashioned lilies and peonies. They can be badly hit in high winds.Keep an eye out for snail damage on lupins and ligularias and deal with it straight away. Watch out for emerging dahlia foliage because you need to locate and protect it before the slugs find it. Be sure to visit your local garden centre. They badly need your support.Last month I asked readers to share their recipes for the best whitewash and promised 25 snowdrop bulbs to
the winner. Thank you for all your responses. I have not one, but two winners, and here they are:
Dear Mairead,
The residents at Maria Goretti Nursing Home in Killmallock, Co Limerick, were thrilled to reminisce on the whitewashing. They were so proud to be telling of their experiences. It was an opportunity for them to laugh, tell stories and feel they were the people with the best knowledge on this topic.
Due to current restrictions, daily life is different for the residents, but we strive to provide as much normality as possible.
Many thanks,
Breda O’Dwyer, activity co-ordinator.
Whitewashing recipe and advice from the residents of the Maria Goretti Nursing Home:
• Time: Early summer on a calm, dry day. Get it done before the visitors start coming home for the summer. These were the special guests who were entertained in the parlour. If the summer was wet, the whitewashing would need to be done again in early autumn.
• Where to whitewash: Inside the kitchen, especially around the open fire. This would be done a few times in the year to keep everything fresh. Out houses, exterior walls, boundary walls around the yard and calf houses when the calves went out to grass. This was to kill bacteria for the next year.
• Who did the work and what did they wear: Women usually did the work. They wore old clothes and a cap or old headscarf. Women wearing skirts wore a housecoat that was used for painting and outside jobs.
• Equipment: A five-gallon bucket and a three-tufted whitewash brush that should last up to four years. Plastic household gloves used from year to year for the white washing. A clean, dry stick from the ditch for stirring. Water from the well or the tap. A bag of lime and a plastic sheet to protect the floor or ground. This was also kept for years. People used straw to protect the ground outside, especially if it was a calm day.
• Method: Put three gallons of water in a five-gallon bucket. Gradually add fistfuls of lime and keep stirring until it’s the consistency of paint. If lime is left over, tie the bag with chord and store in a dry place.
Brenda’s secret recipe for whitewash
50lbs of hydrated mason’s lime10lbs of table saltWaterOptional: dried colour particlesMix
Mix lime and salt together dry. If using colour, blend them together. Add water slowly until the mixture looks like pancake batter or a creamy latex paint. Don’t stop stirring until all of the lime is dissolved in the water.
Some tips
Do not add sand if you want a smooth finish. It is best if the temperature is 200C or less for 12 hours for it to set right. When you mix whitewash, you don’t have to use it straight away. Make sure the surface is clean and damp. Whitewash usually goes on blotchy and looks like it is not covering well. But wait until the next day. If you put on a normal coat as you would paint, it dries a brilliant white. 


SHARING OPTIONS