

The opening of the slurry spreading season is just around the corner. Farmers should take the time to run through their slurry tanker, starting at the front and working their way back towards the rear of the machine.
Almost all slurry tankers in Ireland are of the vacuum type. We have compiled a 10-step guide that is applicable across most brands that should help you check your tanker. However, if in any doubt about any potential issue, you should consult your local mechanic or dealership.
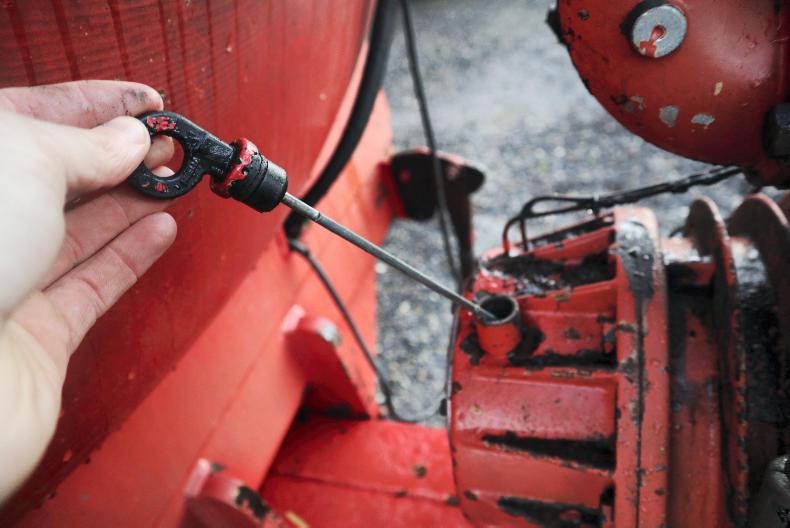
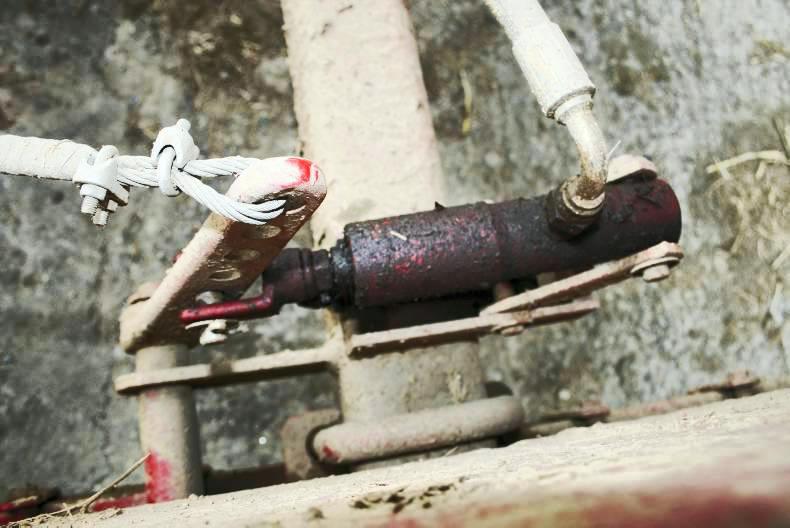
1 Pick-up/drawbar
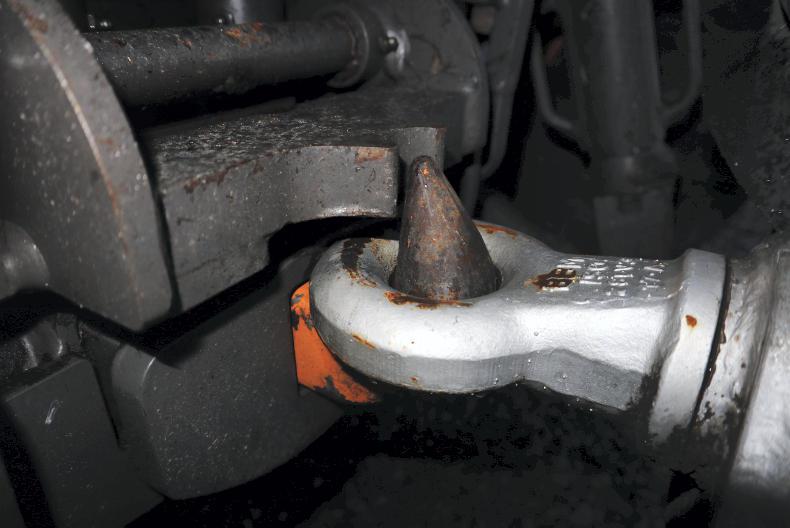
The towing eye is the load connection point between the tractor and tanker. A typical 2,300 gallon vacuum tanker will hold 10,456 litres when full. One litre of water has a mass of 1kg, so every thousand litres of liquid in the tank has a mass of give or take 1t depending on the varying slurry constituents.
This means a typical 2,300 gallon slurry tanker will hold just under 10.5t of liquid in addition to the weight of the tanker itself. As a result, it is important that the towing eye is examined for wear. If required, a new towing eye is relatively cheap and quite easy to fit.
If the tanker has a sprung drawbar, the guide slides should be greased regularly along with the drawbar pivot.
2 PTO
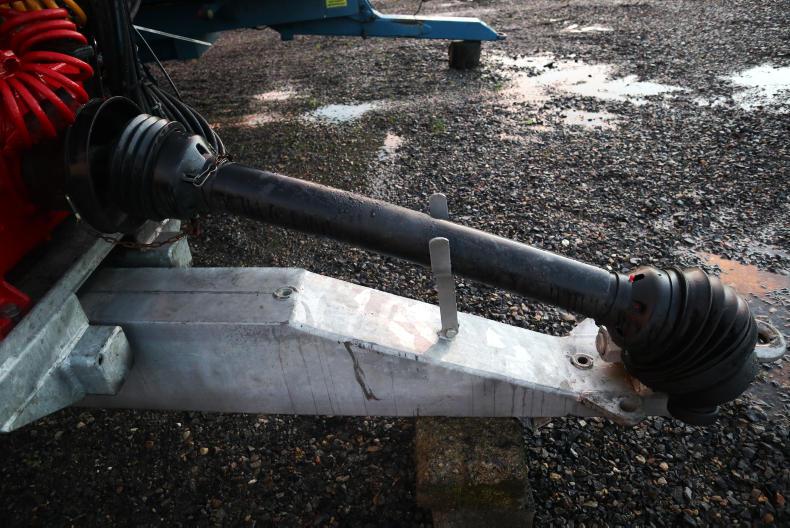
It is advisable to remove the PTO shaft from the tanker, take the sliding profiles apart in case they have seized and check for any bends. If deemed OK, the sliding profile, the head and the crosses should all be greased. The universal joints should be inspected to see if they have seized before checking them for wear. The lock pin should also be inspected for wear.
It is essential that all PTO covers and guards are fully functional. The guard should have check-chains to anchor it at both ends.
3 Hydraulic hoses
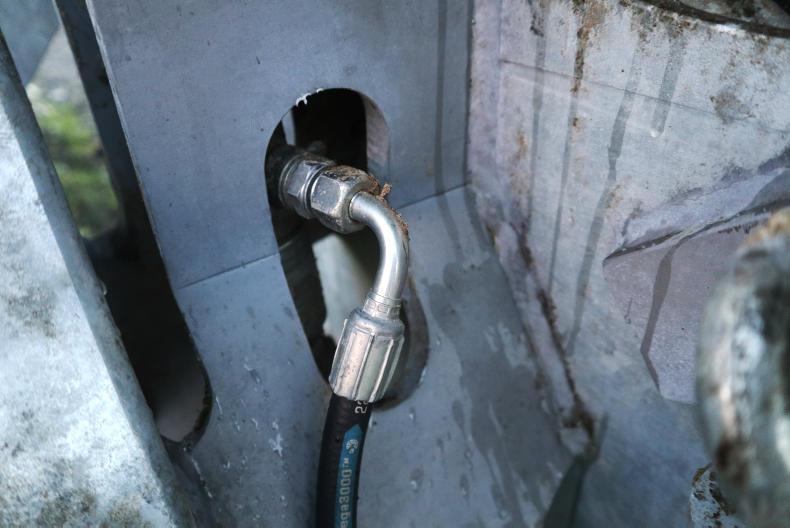
All hydraulic hoses and quick-release couplings should be inspected for leaks or damage and replaced if necessary. Emphasis should be placed on the hydraulic brake hose.
4Vacuum pump
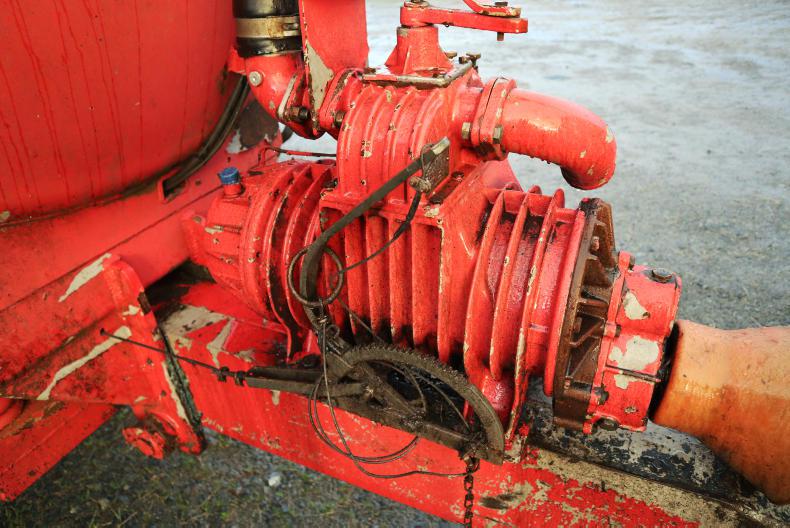
If the tanker hasn’t been used in a while, put the pump on pressure and suck half a litre of diesel through the exhaust with the tanker spreading valve open (nothing in tank). This should help clean and free up everything in the pump.
Most vacuum pumps will have a gearbox at the front with an oil tank at the rear to supply and lubricate the pump. At the PTO end, check there is no leak at the input shaft and no play in the shaft itself.
The gear oil level in the front gearbox should be inspected. If it is a milky colour it should be changed. Most vacuum pumps use a standard gear oil, but this should be checked with the operator’s manual.
5 Reservoir/oil flow
The oil reservoir for the pump’s lube oil is located at the rear of the pump. The operator’s manual should be consulted for the rate and type of oil.
The rate of administering oil to the pump varies between manufacturers. Usually, it’s from one to three drops per second. This can be seen through the sight glass in the oiler. If required, the rate can be adjusted at the top of the oiler. A constant supply of oil to the pump will play a big role in determining its lifespan.
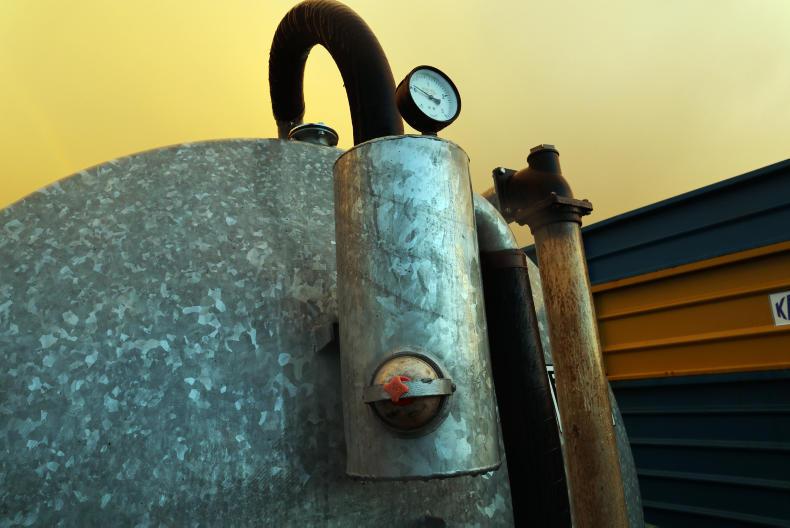
6 Relief valve/pressure gauge
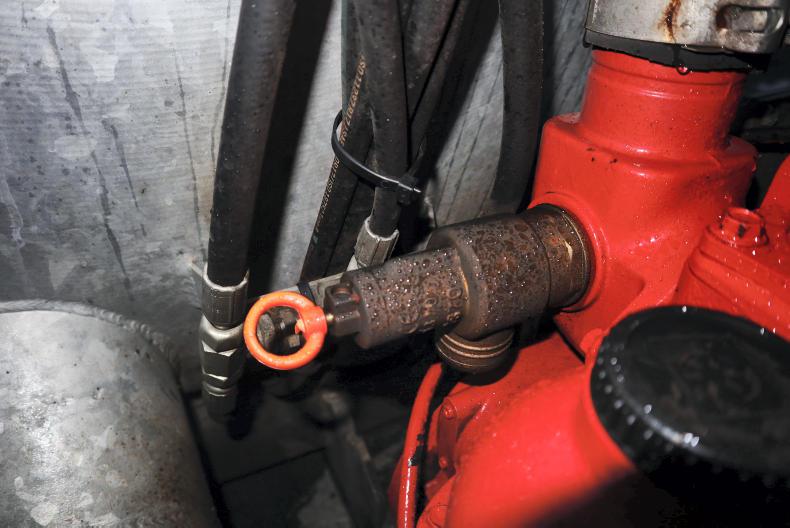
The tank’s over-pressure relief valve is a brass-coloured valve with a red pull-ring. It is set at a pressure of 0.5 bar. After spending a winter outside it should be inspected to ensure it is not sticking. This sets the maximum operating pressure of the tank. When a pressure of 0.5 bar is reached, it will make a racket and you will feel the air coming out of it. This pressure should also register on the pressure gauge.
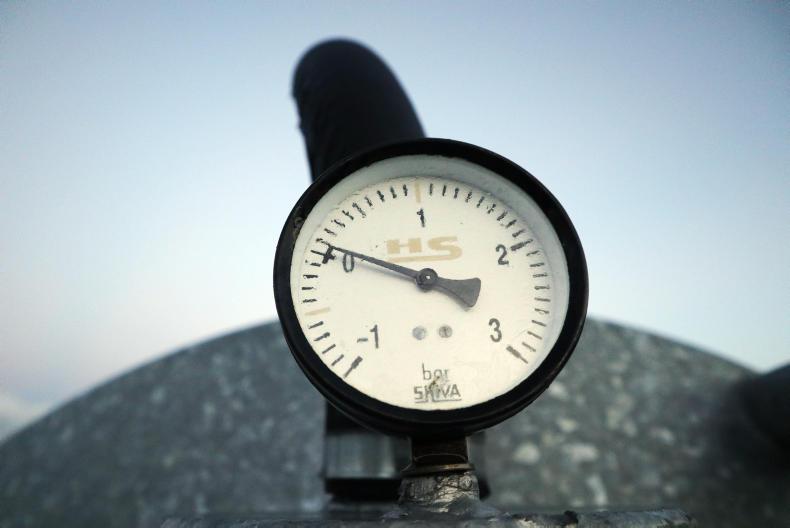
The pressure/vacuum gauge gives the operator an indication of what’s going on with the tank, whether it is under pressure or vacuum. If it is not showing any pressure when the pump is running, try opening the rear gate valve and there should be a rush of air. If it is still not registering it may need to be replaced.
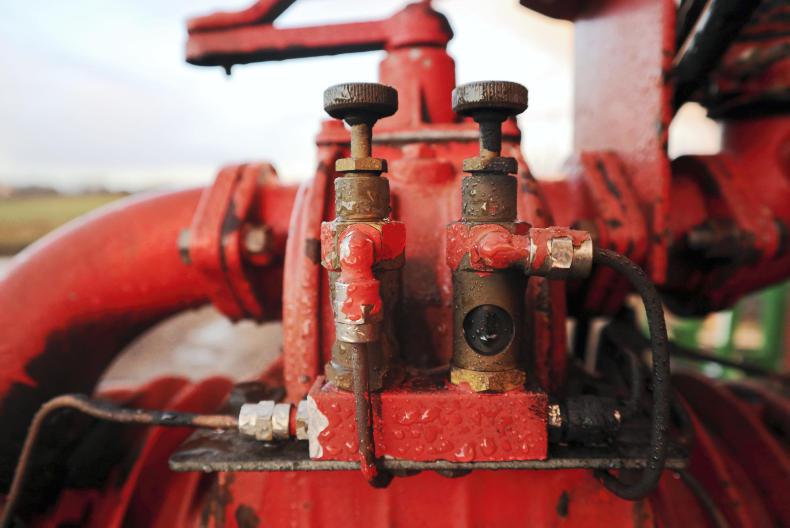
7 Shut off valves
The primary and secondary shut-off valves protect the pump from sucking slurry into itself. These are simple ball devices which act as one-way valves. They allow air to pass through but when the tanker is full to its limit the balls float up on the slurry and block the vacuum/pressure line to the pump.
If the slurry gets past the primary shut-off valve located at the top of the tanker, then the secondary shut-off located in a cylindrical unit at the front of the tank comes into play. An inspection glass allows the operator to see if slurry has travelled too far and shut off the pump. If these become cloudy from age/sunlight damage, they are not very expensive to replace.
8 Brakes/handbrake
Fully functioning brakes are of critical importance. As previously mentioned, a 2,300 gallon tanker will have a 10.5t load plus the weight of the tanker itself. If hauling a load that’s not entirely full, the moving liquid inside the tanker will bully the tractor and the swishing motion will push the tractor on again after coming to a halt.
The brakes should be inspected to ensure they are not sticking, especially if the tanker has been parked up for a long time. If the brakes need adjusting, this should be done so in accordance with the manufacturer’s specifications.
The condition of the handbrake cable should be checked. It should be able to be operated and released without a problem.
9 Tyres
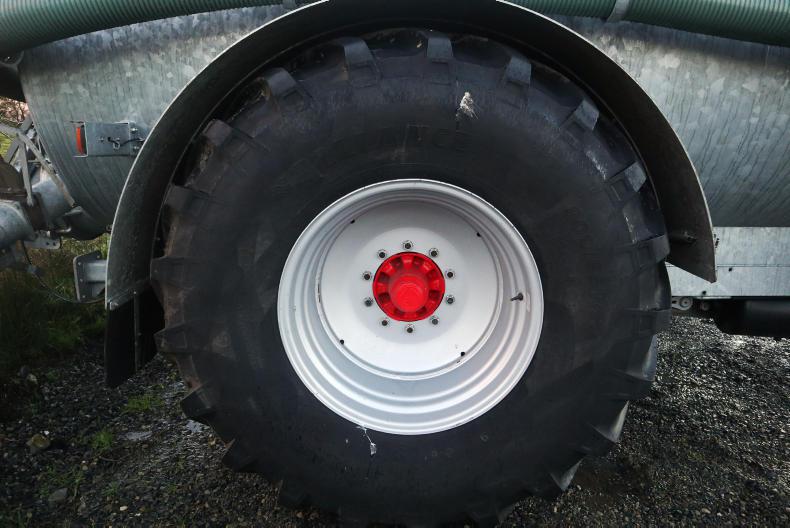
When checking the condition of the tanker tyres, be aware that nine times out of 10 the tyres will become structurally damaged before the actual lugs are worn. A structurally damaged tyre is prone to a blowout, which could have serious consequences, especially if it occurs on a public roadway.
Next up is tyre pressure. This should be based on the manufacturer’s recommendations, but farmers should be aware that tanker tyres need to have more pressure in them than tyres on other implements. Wheel nuts should be checked regularly.
10 Suction point
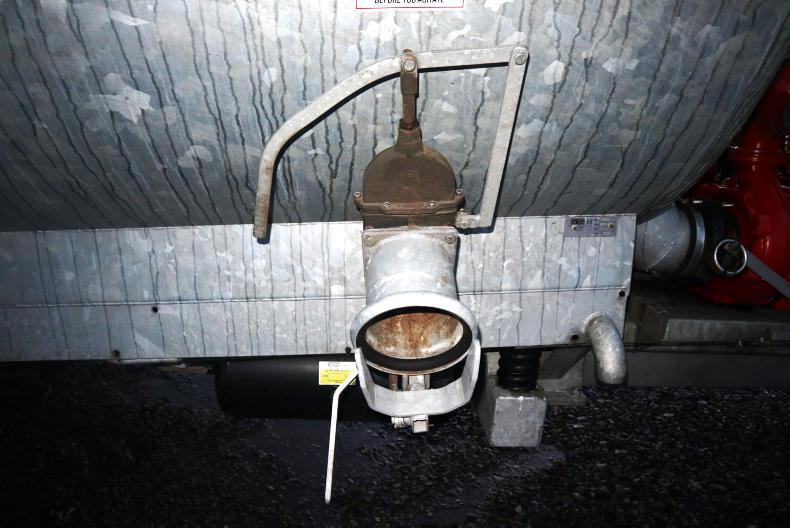
Starting at the gate valve, if it is not closing properly, often times a small stone or debris may be stuck in the valve’s groove. If this doesn’t resolve the issue, the gate valve may need replacing. If there is any slurry leaking around the stem of the gate valve, it may be resolved as simple as tightening the collar nut.
Moving on to the inlet connection, the rubber seal used to seal the suction between the pipe and the tanker should be checked for damage. The clamps should also be checked to ensure they are tight to avoid any leakage of slurry or air when filling the tanker.


SHARING OPTIONS