The cane backing on this chair made the perfect blank canvas for a giant cross stitch design. This technique is a great way to add colour and personality to a vintage piece without any commitment to a permanent change, as the stitches can be easily removed. A little extra care is needed to make sure that the back is as neat as the front – remember that both sides will be visible.

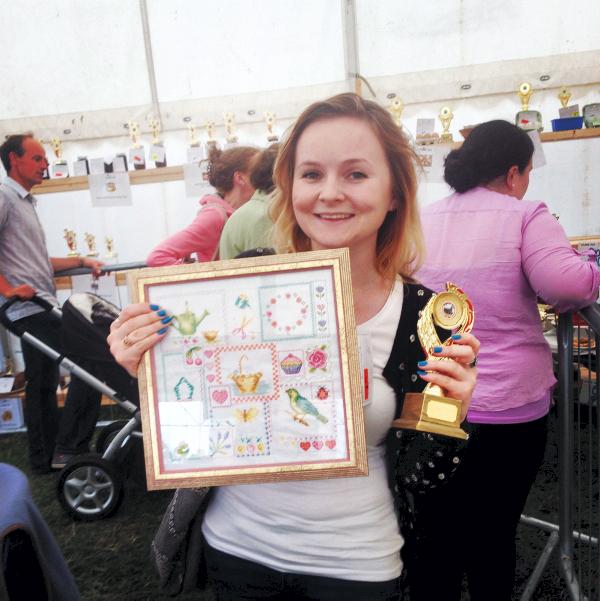
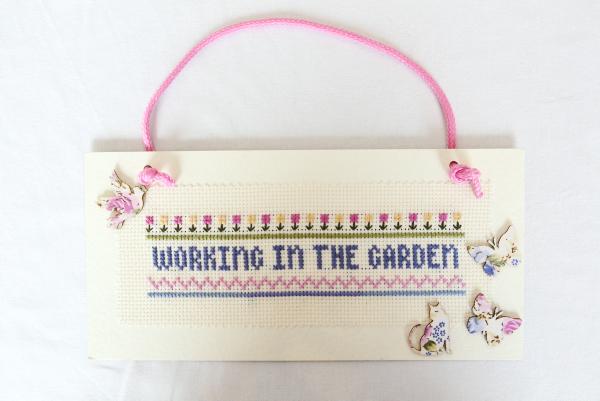
Joanne Condon cane chair cross stitch project: finished project
sanding block
graph paper
coloured pencils
yarn
large sewing needle
scissors
paper and pencil (optional)
clear, water-based varnish
paintbrush
painter’s tape (optional)
satinwood paint
artist’s brush

Step 1
1. Sand back the finish on the chair frame. I did this by hand using a sanding block, which was more time consuming than using an electric sander but prevented any damage to the rounded shape of the wood. Make sure the chair is free of dust, especially the cane.

Step 2
2. Take a piece of graph paper and plan out your cross stitch design using coloured pencils that match the hues of your yarn. You will need this plan to refer to as you make your stitches.

Step 3
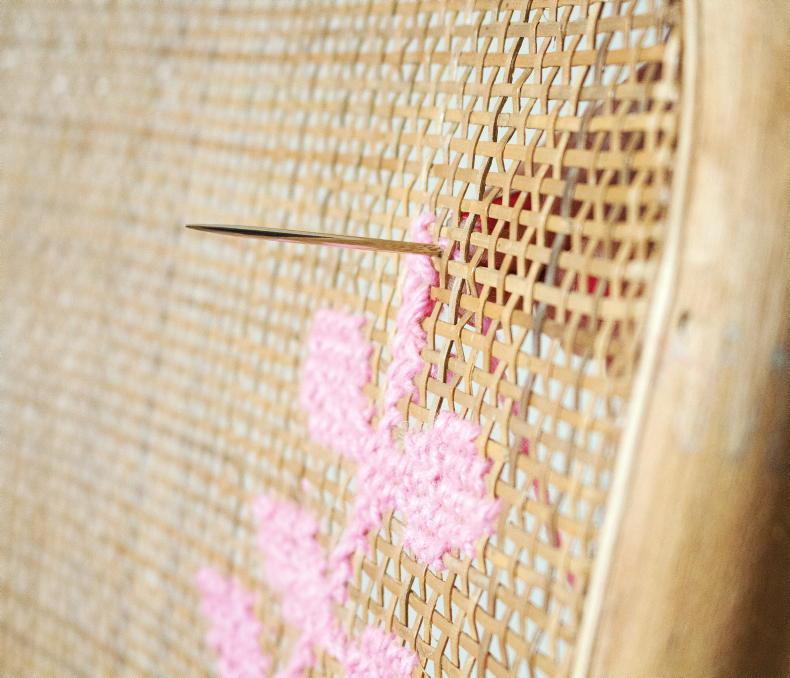
3. Thread a sewing needle with yarn and begin your first stitch. Hold the end of the yarn in place at the back of the chair – you can tuck this in later. Pass the needle back through the weave to make a diagonal stitch.

Step 4
4. With your second stitch, cross the yarn back over in the opposite diagonal to create your first cross stitch. It should look like a little ‘X’.

Step 5
5. Keep following your sketch and add more stitches – I began with a vertical line to make a stem for my leaf design.
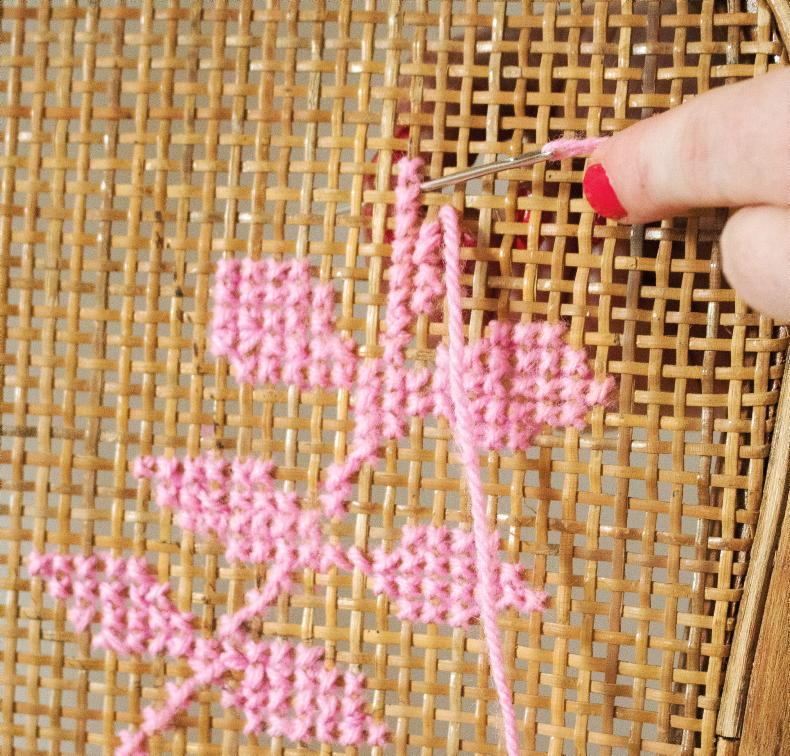
Step 6
6. Continue stitching and see how your design takes shape. The sketch is only a guide, so you can change the size and shape of the leaves if you need to.
Step 7
7. When you have completed all the stitches in one colour, trim the yarn, leaving a short tail. Tuck this into the previous stitch to prevent it from unravelling.

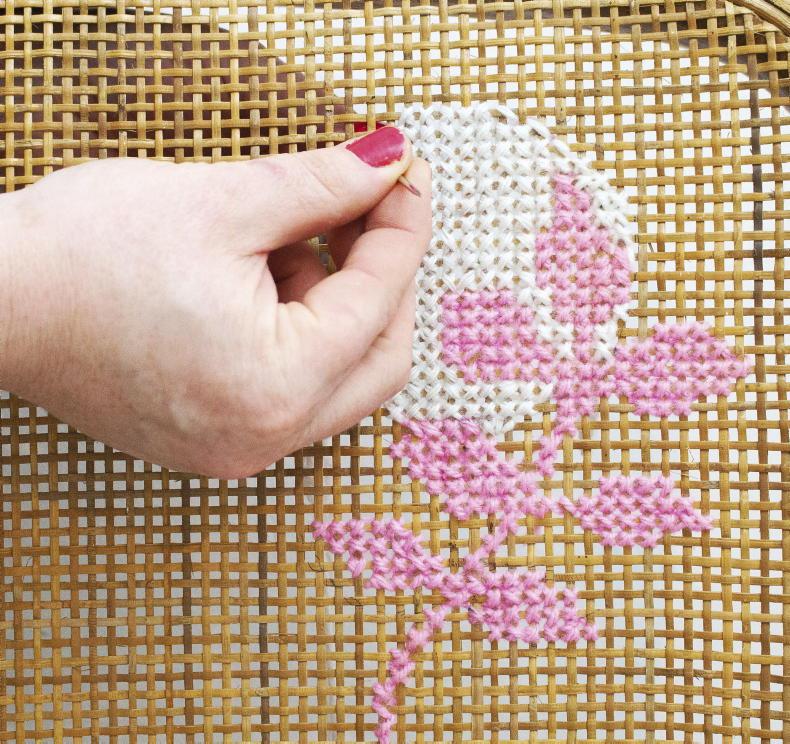
Step 8
8. If your design includes a circle shape, you may want to make a paper template to use as a guide. Hold the template against the back of the chair to check the size and position of the cross stitch circle.

Step 9
9. With a lighter-coloured yarn, cross stitch the circle – you may only need to make one diagonal stitch in places where you are following the curved outline. If you have a template, hold it up every now and then to ensure your circle looks OK.
Step 10
10. Continue stitching your way around the circle, filling in all the spaces between the leaves. When you have finished stitching, trim the yarn and tuck in the end, as in step 7.
11. Seal the frame with a clear, water-based varnish all over, or if you like, you can create a dipped paint look using painter’s tape. Finally, use an artist’s brush to paint the edge of the cane to match one of the yarn colours.

Furniture Flips by Joanne Condon, published by CICO Books (€19.95). Photography by Joanne Condon
Read more
DIY with Joanne Condon: whitewashing a pine table
Upcycling with Joanne Condon of Kyle Lane
The cane backing on this chair made the perfect blank canvas for a giant cross stitch design. This technique is a great way to add colour and personality to a vintage piece without any commitment to a permanent change, as the stitches can be easily removed. A little extra care is needed to make sure that the back is as neat as the front – remember that both sides will be visible.
Joanne Condon cane chair cross stitch project: finished project
sanding block
graph paper
coloured pencils
yarn
large sewing needle
scissors
paper and pencil (optional)
clear, water-based varnish
paintbrush
painter’s tape (optional)
satinwood paint
artist’s brush
Step 1
1. Sand back the finish on the chair frame. I did this by hand using a sanding block, which was more time consuming than using an electric sander but prevented any damage to the rounded shape of the wood. Make sure the chair is free of dust, especially the cane.
Step 2
2. Take a piece of graph paper and plan out your cross stitch design using coloured pencils that match the hues of your yarn. You will need this plan to refer to as you make your stitches.
Step 3
3. Thread a sewing needle with yarn and begin your first stitch. Hold the end of the yarn in place at the back of the chair – you can tuck this in later. Pass the needle back through the weave to make a diagonal stitch.
Step 4
4. With your second stitch, cross the yarn back over in the opposite diagonal to create your first cross stitch. It should look like a little ‘X’.
Step 5
5. Keep following your sketch and add more stitches – I began with a vertical line to make a stem for my leaf design.
Step 6
6. Continue stitching and see how your design takes shape. The sketch is only a guide, so you can change the size and shape of the leaves if you need to.
Step 7
7. When you have completed all the stitches in one colour, trim the yarn, leaving a short tail. Tuck this into the previous stitch to prevent it from unravelling.
Step 8
8. If your design includes a circle shape, you may want to make a paper template to use as a guide. Hold the template against the back of the chair to check the size and position of the cross stitch circle.
Step 9
9. With a lighter-coloured yarn, cross stitch the circle – you may only need to make one diagonal stitch in places where you are following the curved outline. If you have a template, hold it up every now and then to ensure your circle looks OK.
Step 10
10. Continue stitching your way around the circle, filling in all the spaces between the leaves. When you have finished stitching, trim the yarn and tuck in the end, as in step 7.
11. Seal the frame with a clear, water-based varnish all over, or if you like, you can create a dipped paint look using painter’s tape. Finally, use an artist’s brush to paint the edge of the cane to match one of the yarn colours.
Furniture Flips by Joanne Condon, published by CICO Books (€19.95). Photography by Joanne Condon
Read more
DIY with Joanne Condon: whitewashing a pine table
Upcycling with Joanne Condon of Kyle Lane


SHARING OPTIONS