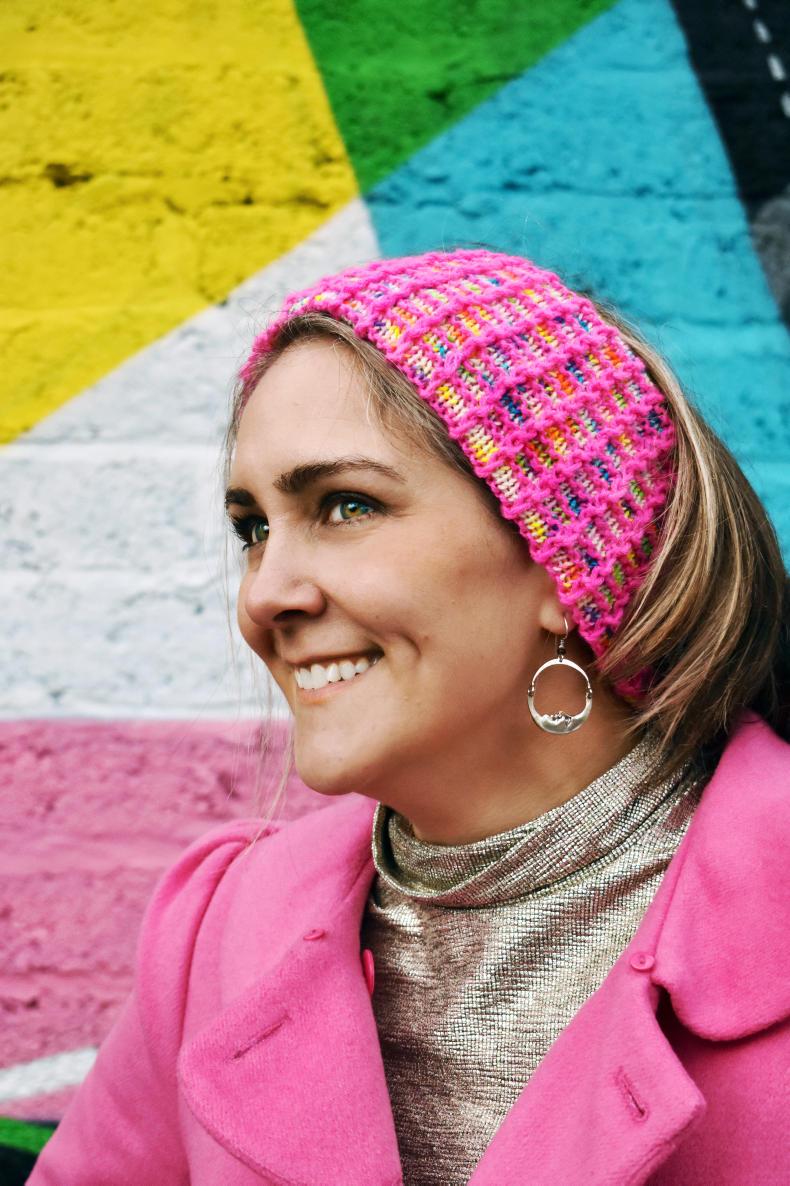
The Midnight Waffles pattern looks complex, but is a simple combination of slipped, knit and purl stitches. The cowl design features a provisional cast on that is later joined with the bind-off edge for a continuous pattern and double the insulation. The resulting cowl works equally well as a headband/ear warmer. 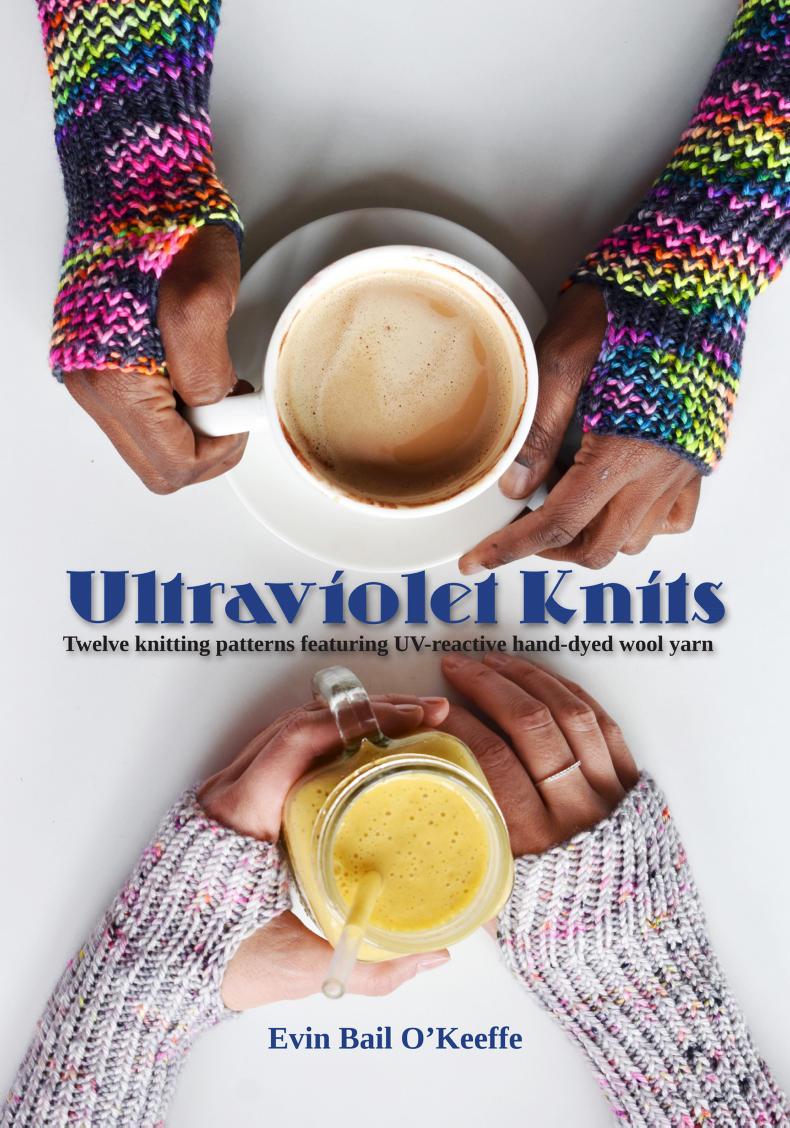
Most DK yarns in two colours will work beautifully for this project. The slipped stitch mosaic approach to colorwork gives the final object a stretchy and soft feel.
The name is inspired by my mother’s tradition of taking me out to the all-night diner for waffles when she finished a wallpaper or DIY project on our home. It was one of the early ways she included me in home improvement projects, even before I could wield a putty knife or hammer. It was made all the more special that the diner had a sister location, which is where my parents went on their first date. Midnight Waffles celebrates the little wins that make big memories.
Ultraviolet Knits is available to buy online immediately, delivered direct to your email in PDF form here for $22/€20 plus VAT. Alternatively, you can buy a copy of the book on anchorandbee.com at €22 with shipping from 1 July.
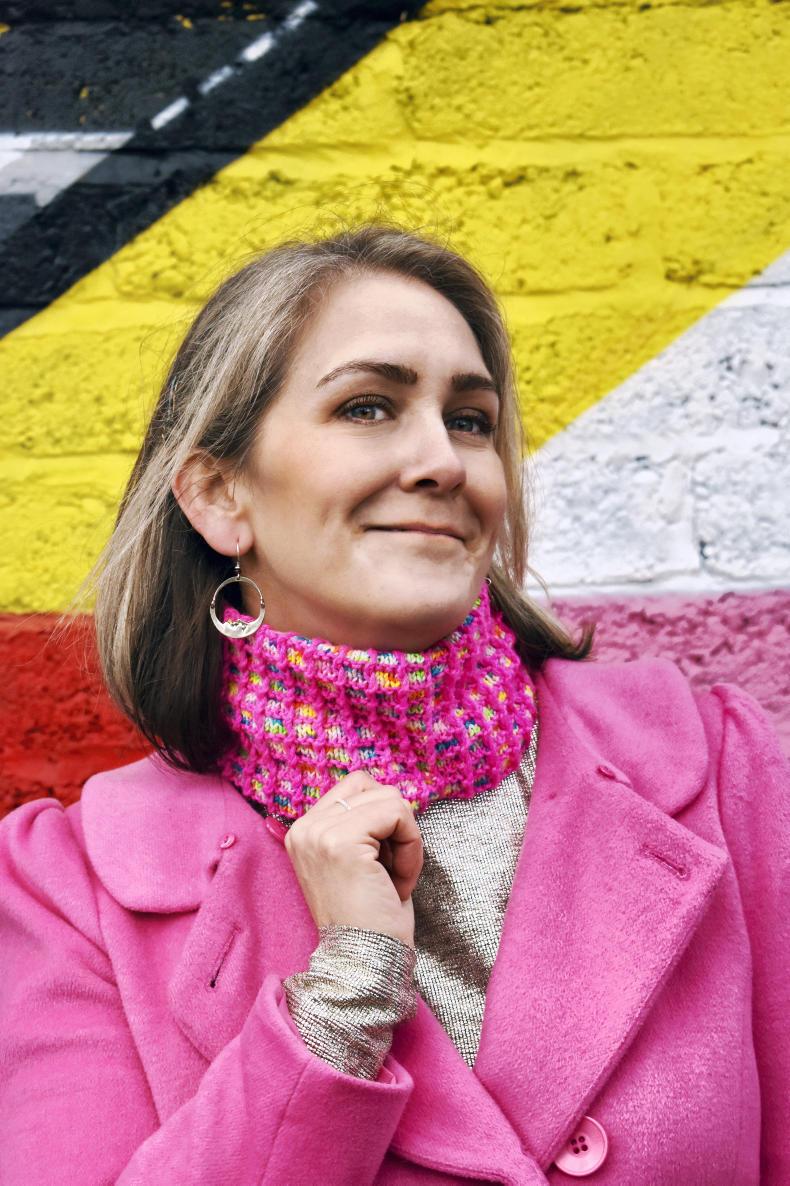
Midnight Waffles cowl by Evin Bail O'Keeffe. \ Niall Twamley
Weight of yarn: 3 Light.
Skill level: Intermediate.
Sizes: One.
Finished measurements:
Height: 23.5cm tall before seaming; 11.5cm after seaming.
Width: 24cm. Circumference: 47.5cm after seaming.
Materials
My Mama Knits PATSY DK (273yds/250m, 3.53oz/100g, 100% Super- wash Merino): 1 skein each Hen Party (Yarn A) and Sugar Skull (Yarn B). I sourced these yarns at www.mymamaknits.com, but feel free to substitute from your own stash. Size US6 (4mm) 24” (60cm) circular needles or size needed to obtain gauge. Stitch marker. Waste yarn. Tapestry needle.Gauge: In stockinette stitch, 22 sts and 15 rnds = 4 in/10cm. In pattern, 32 rows and 24 sts = 4 in/10cm.
CO 125 sts, using yarn A and a stretchy provisional cast-on (you will be joining the final edge to the cast-on edge at the end of the project). Slip the first stitch to be next to the last on the needle then knit those two together to join in the round. Place a stitch marker to indicate the beginning of the round. (124 sts)Round 1 (Yarn A): *K1, p3; rep from * to end of round. Rounds 2-4 (Yarn B): *Sl 1 kw wyib, k3, rep from * to end of round. Round 5 (Yarn A): Knit.Repeat rounds 1-5 a total of 20-30 times. Join final edge to the provisional cast-on edge using the Kitchener Stitch.Block and weave in ends.Glossary
Here are the terms and abbreviations used in the Midnight Waffles Cowl.
Block: After a knitted garment or item is complete, sometimes the stitches may be uneven or edges may roll. To train the stitches to lay flat or take on a shape, such as a tea cosy, use steam or moisture followed by drying time in a set position. This should not be done on ribbing or other stitches requiring a retention of stretch. Lace knitting is especially transformed when blocked because it goes from compressed and wrinkled to smooth and spread out.
Gauge: Number of stitches and rows in a 4-by-4-inch section of knitted material is needed to create the project in the desired size and stitch density.
In the round: This denotes a pattern worked on double-pointed or circular knitting needles. When joining stitches to start knitting in the round, it is important to not twist. One approach to limiting chances of a twist is to cast on an additional stitch which is then shifted to be knitted with the first stitch, thereby joining in the round. If you still find you have a small gap or break in your knitting where you joined in the round, you may use the remaining cast on tail to seam that section together.
Kfb: Knit in the front and back of the stitch to increase one stitch.
Kw: Knitwise. The right needle slipping into a stitch on the left needle from left to right, as if to knit the stitch. It may also read as ‘Sl1kw’
WYIB: With yarn in back
YO: Yarn over. Simply wrap the working yarn around the right needle to create a new stitch.
NOTE: While each pattern has been technically tested, if errata (corrections) are required, they will be posted at anchorandbee.com
The Midnight Waffles pattern looks complex, but is a simple combination of slipped, knit and purl stitches. The cowl design features a provisional cast on that is later joined with the bind-off edge for a continuous pattern and double the insulation. The resulting cowl works equally well as a headband/ear warmer.
Most DK yarns in two colours will work beautifully for this project. The slipped stitch mosaic approach to colorwork gives the final object a stretchy and soft feel.
The name is inspired by my mother’s tradition of taking me out to the all-night diner for waffles when she finished a wallpaper or DIY project on our home. It was one of the early ways she included me in home improvement projects, even before I could wield a putty knife or hammer. It was made all the more special that the diner had a sister location, which is where my parents went on their first date. Midnight Waffles celebrates the little wins that make big memories.
Ultraviolet Knits is available to buy online immediately, delivered direct to your email in PDF form here for $22/€20 plus VAT. Alternatively, you can buy a copy of the book on anchorandbee.com at €22 with shipping from 1 July.
Midnight Waffles cowl by Evin Bail O'Keeffe. \ Niall Twamley
Weight of yarn: 3 Light.
Skill level: Intermediate.
Sizes: One.
Finished measurements:
Height: 23.5cm tall before seaming; 11.5cm after seaming.
Width: 24cm. Circumference: 47.5cm after seaming.
Materials
My Mama Knits PATSY DK (273yds/250m, 3.53oz/100g, 100% Super- wash Merino): 1 skein each Hen Party (Yarn A) and Sugar Skull (Yarn B). I sourced these yarns at www.mymamaknits.com, but feel free to substitute from your own stash. Size US6 (4mm) 24” (60cm) circular needles or size needed to obtain gauge. Stitch marker. Waste yarn. Tapestry needle.Gauge: In stockinette stitch, 22 sts and 15 rnds = 4 in/10cm. In pattern, 32 rows and 24 sts = 4 in/10cm.
CO 125 sts, using yarn A and a stretchy provisional cast-on (you will be joining the final edge to the cast-on edge at the end of the project). Slip the first stitch to be next to the last on the needle then knit those two together to join in the round. Place a stitch marker to indicate the beginning of the round. (124 sts)Round 1 (Yarn A): *K1, p3; rep from * to end of round. Rounds 2-4 (Yarn B): *Sl 1 kw wyib, k3, rep from * to end of round. Round 5 (Yarn A): Knit.Repeat rounds 1-5 a total of 20-30 times. Join final edge to the provisional cast-on edge using the Kitchener Stitch.Block and weave in ends.Glossary
Here are the terms and abbreviations used in the Midnight Waffles Cowl.
Block: After a knitted garment or item is complete, sometimes the stitches may be uneven or edges may roll. To train the stitches to lay flat or take on a shape, such as a tea cosy, use steam or moisture followed by drying time in a set position. This should not be done on ribbing or other stitches requiring a retention of stretch. Lace knitting is especially transformed when blocked because it goes from compressed and wrinkled to smooth and spread out.
Gauge: Number of stitches and rows in a 4-by-4-inch section of knitted material is needed to create the project in the desired size and stitch density.
In the round: This denotes a pattern worked on double-pointed or circular knitting needles. When joining stitches to start knitting in the round, it is important to not twist. One approach to limiting chances of a twist is to cast on an additional stitch which is then shifted to be knitted with the first stitch, thereby joining in the round. If you still find you have a small gap or break in your knitting where you joined in the round, you may use the remaining cast on tail to seam that section together.
Kfb: Knit in the front and back of the stitch to increase one stitch.
Kw: Knitwise. The right needle slipping into a stitch on the left needle from left to right, as if to knit the stitch. It may also read as ‘Sl1kw’
WYIB: With yarn in back
YO: Yarn over. Simply wrap the working yarn around the right needle to create a new stitch.
NOTE: While each pattern has been technically tested, if errata (corrections) are required, they will be posted at anchorandbee.com


SHARING OPTIONS