

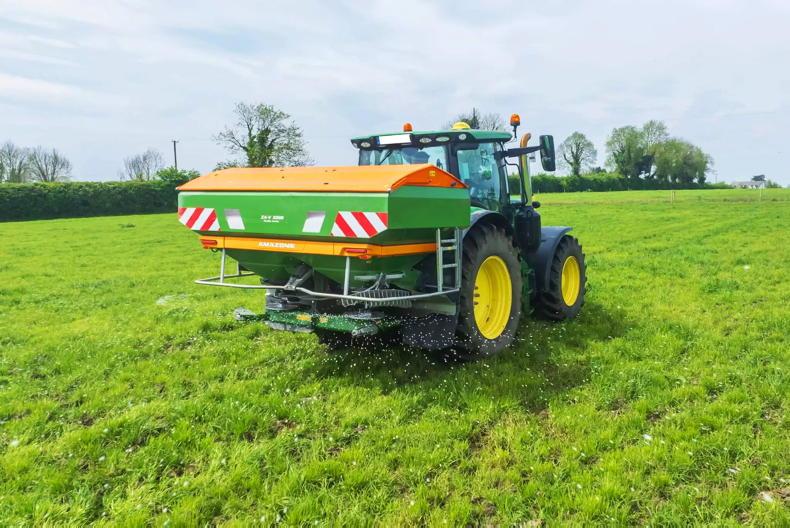
With zones A and B recently opened for chemical fertiliser applications and zone C due to open on 15 February, it won’t be long until early applications start.
With this in mind, we look at spreader setup and the main points to consider in order to help achieve an even and accurate spread pattern.
As the saying goes, ‘get the basics right and the results will follow’. This saying couldn’t be more true when it comes to fertiliser spreader setup.
Modern fertiliser spreaders are hi-tech machines that are capable of accurately placing each granule of fertiliser to wider and wider working widths all the time.
In order to do this, spreaders are equipped with many moving parts and intricate components which need to be correctly maintained. So, the first port of call is to check the physical condition of the spreader, focusing on the below areas:
Correct mounting
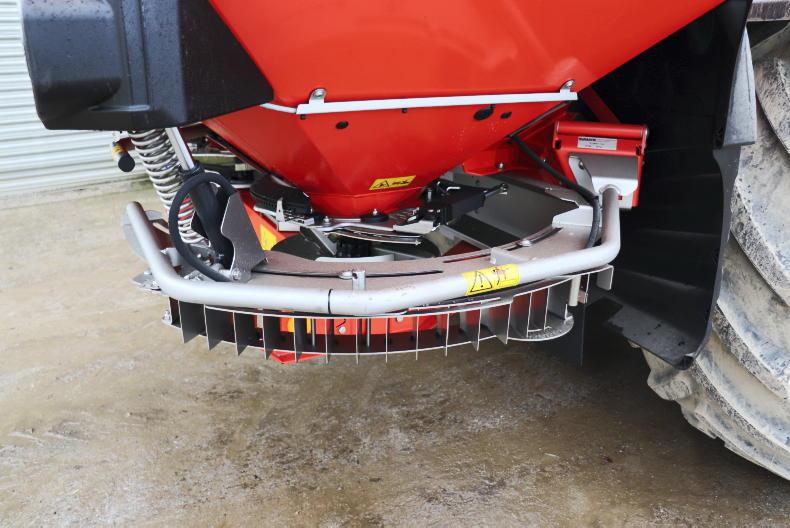
Once confident that the spreader is mechanically sound or after any maintenance issues have been carried out, mounting the spreader on the tractor’s three-point linkage is the next step.
But, before doing so, check that the drop arms are equal in length and that rear tyre pressures are identically set. Then proceed with mounting the spreader. It should sit level once mounted. Now, tighten the stabilisers so that the spreader is positioned centrally and secured with no movement from side to side.
The next step may vary slightly from crop to crop.
Ensure that the spreader is at the correct working height. This is measured from the disc to the top of the crop; 75cm is a good guide.
However, this can vary depending on the machine and working width, so seek the manufacturer’s guidance or refer to the spread chart if necessary.
Once at the correct height, check that the spreader is level from front to back – this adjustment is made via the top link.
Again, depending on the product and machine, this may vary, so seek guidance or check the spread chart. 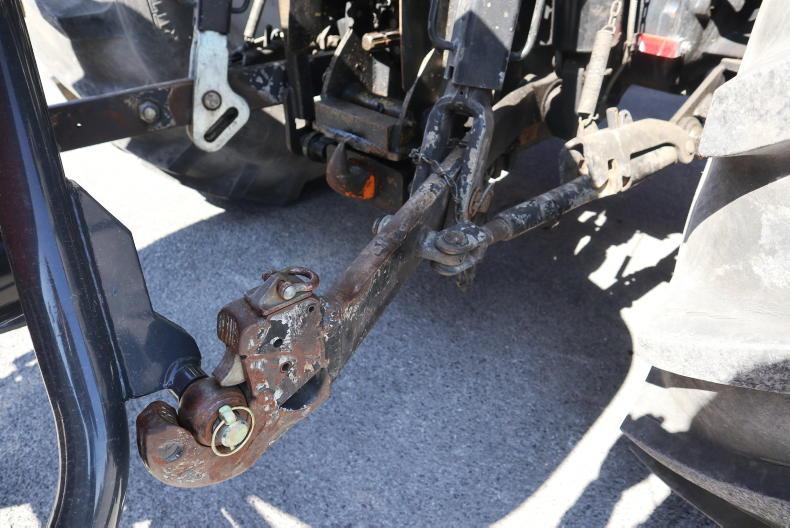
Spreader settings
While you may know the machine settings from last season for a given product, be mindful that fertiliser can vary significantly, not only in size, but in shape and weight.
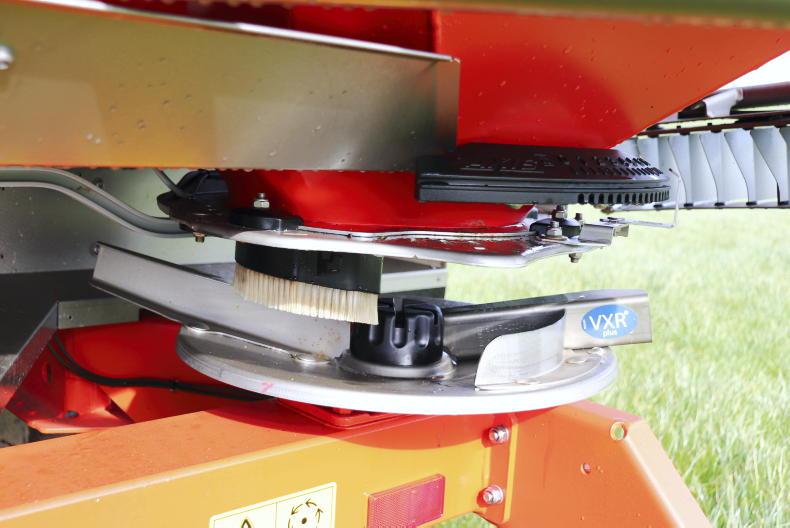
Each of these factors will influence flow rate and spread pattern. The regulator is what adjusts the degree to which the shutters at the bottom of the hopper are opened or closed and subsequently adjusts the flow rate.
Remember, for example, the setting for 247kg/ha for one particular product may not be the same for another. This is where a quick calibration is needed to establish the flow factor for each product type.
Each spreader model will have specific spread charts in which it will state the correct vane type, disc type, vane position and regulator setting for a defined working width, application rate and particular forward speed.
While most spreaders would have come with a book of spread charts, most manufacturers offer a smartphone app that intuitively helps establish the correct settings for particular product. 
If the flow rate for a particular product is unknown or you want to ensure the spreader is correctly set, then it is worth spending the time and carrying out a calibration.
Depending on the brand of machine, one disc may need removed while others won’t.
Most modern hi-spec weigh cell machines will automatically calibrate multiple times per second.
During a manual calibration, place a bucket under the shutter before opening it for 30 seconds.
The collected fertiliser is then weighed (minus the bucket). This should theoretically match the flow rate as per the spread chart if set correctly.
Where the reading is inaccurate, adjust the regulator accordingly and try again.
For those spreading at large bout widths or wanting to ensure total accuracy then a tray test should be carried out. This is a simple procedure but just requires time.
Do so by laying out a number of trays at equal distances from each other across a full bout width, ie 12m, 18m or 24m.
Then drive over and back between the trays while spreading fertiliser as you would normally. If the settings are correct, the volume of fertiliser collected in each tray should be the same. Regardless of how complex a machine is, they all should be tray tested to ensure the spread pattern is correct.
You might have a brand new spreader that is fully calibrated and tray tested and still encounter issues in terms of accuracy.
After this, the only other variable is the driver.
The operator needs to drive correctly in the field. Consistency is important, ie consistent forward speed and bout width. Forward speed is the easier of the two to improve on if the tractor has a functional speedometer.
Bout widths naturally becomes harder to maintain the wider they are.
Where maintaining accurate bout widths prove a persistent issue, especially at times of the season when spreading on low covers or directly after cutting silage, it might be worth considering investing in a basic manual GPS guidance system.
In their most basic form, these systems can be picked up new from €2,000 plus VAT or even less on the secondhand market. 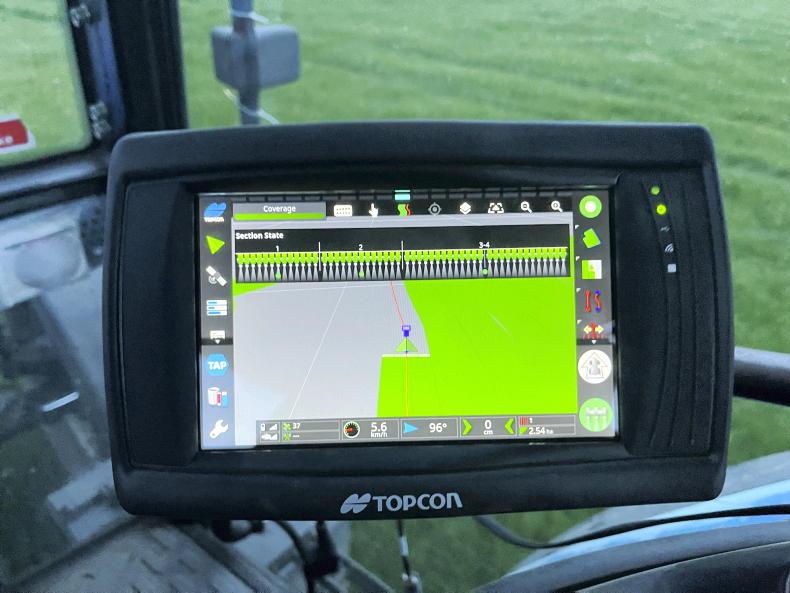


SHARING OPTIONS